This post may contain affiliate links. Read my disclosure policy.
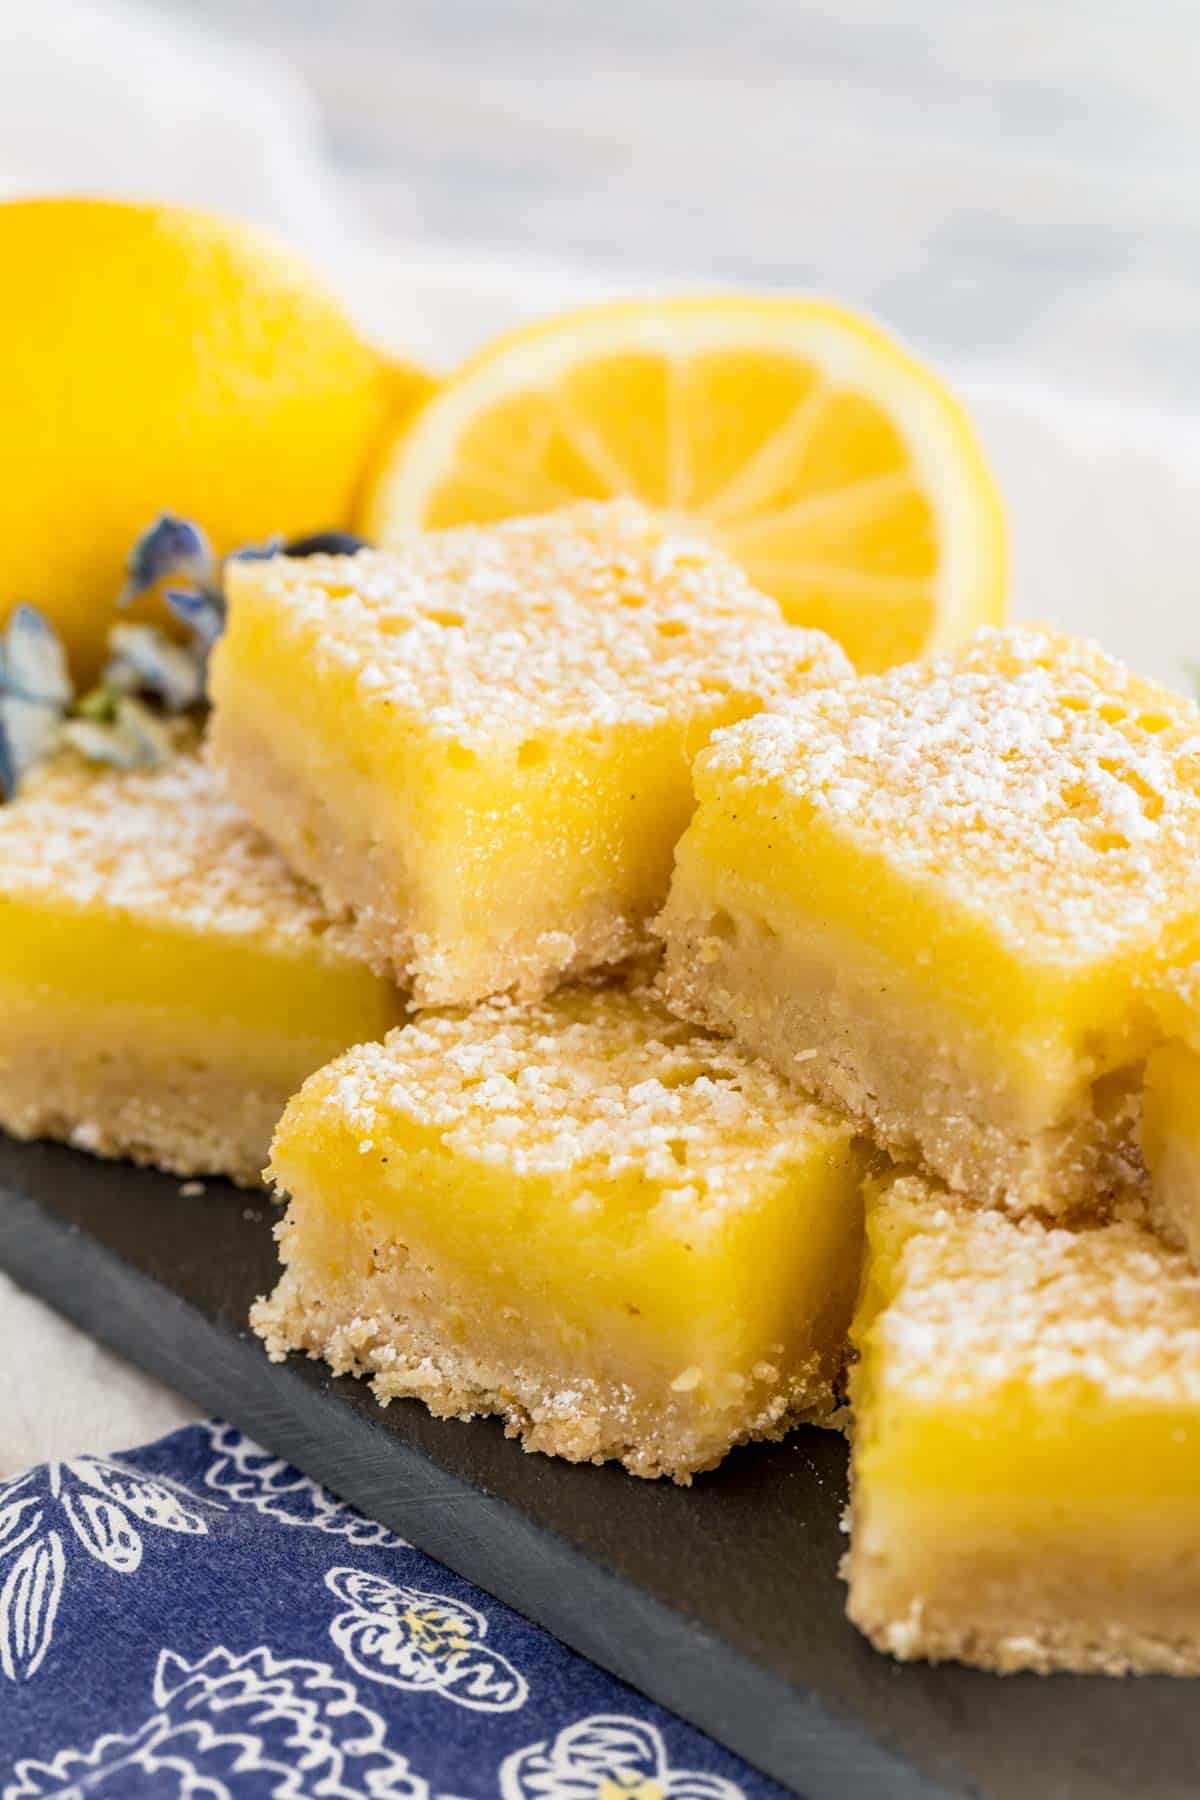
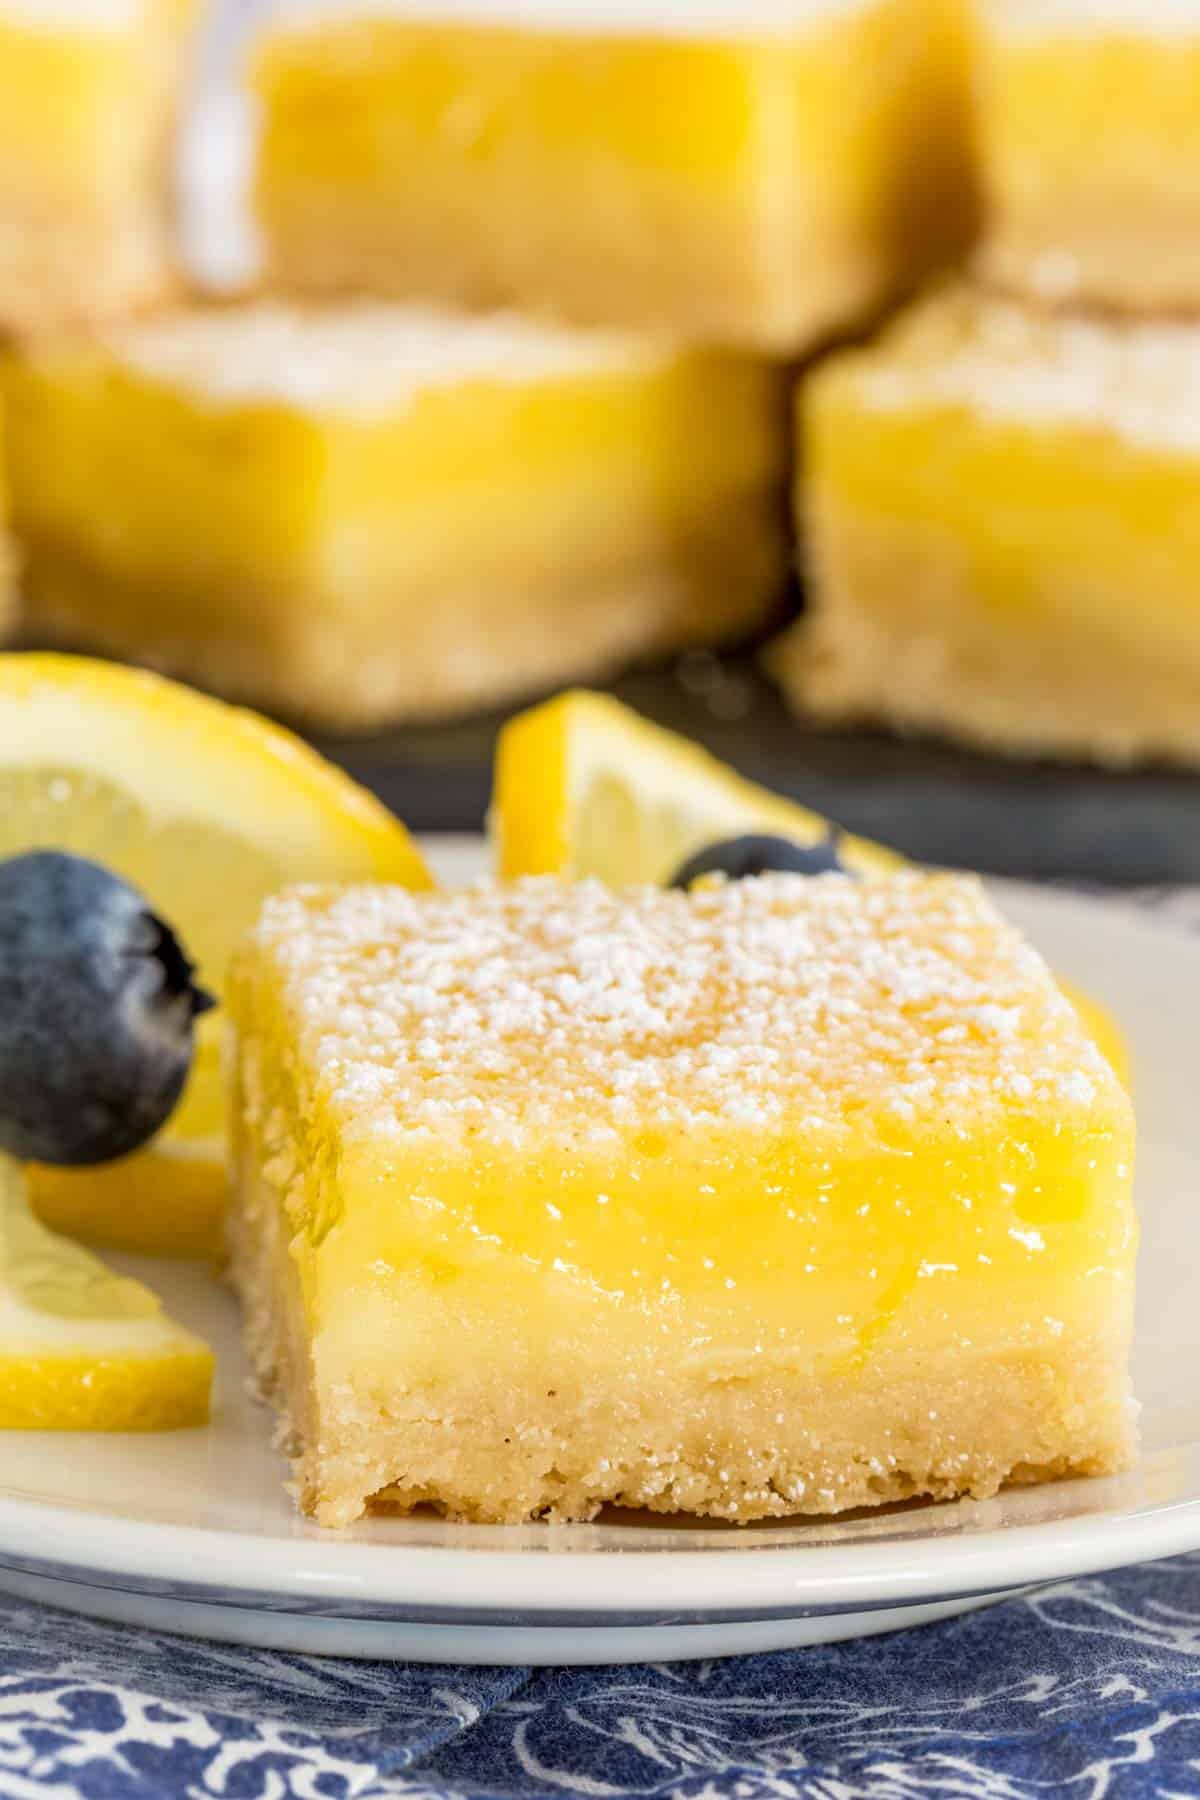
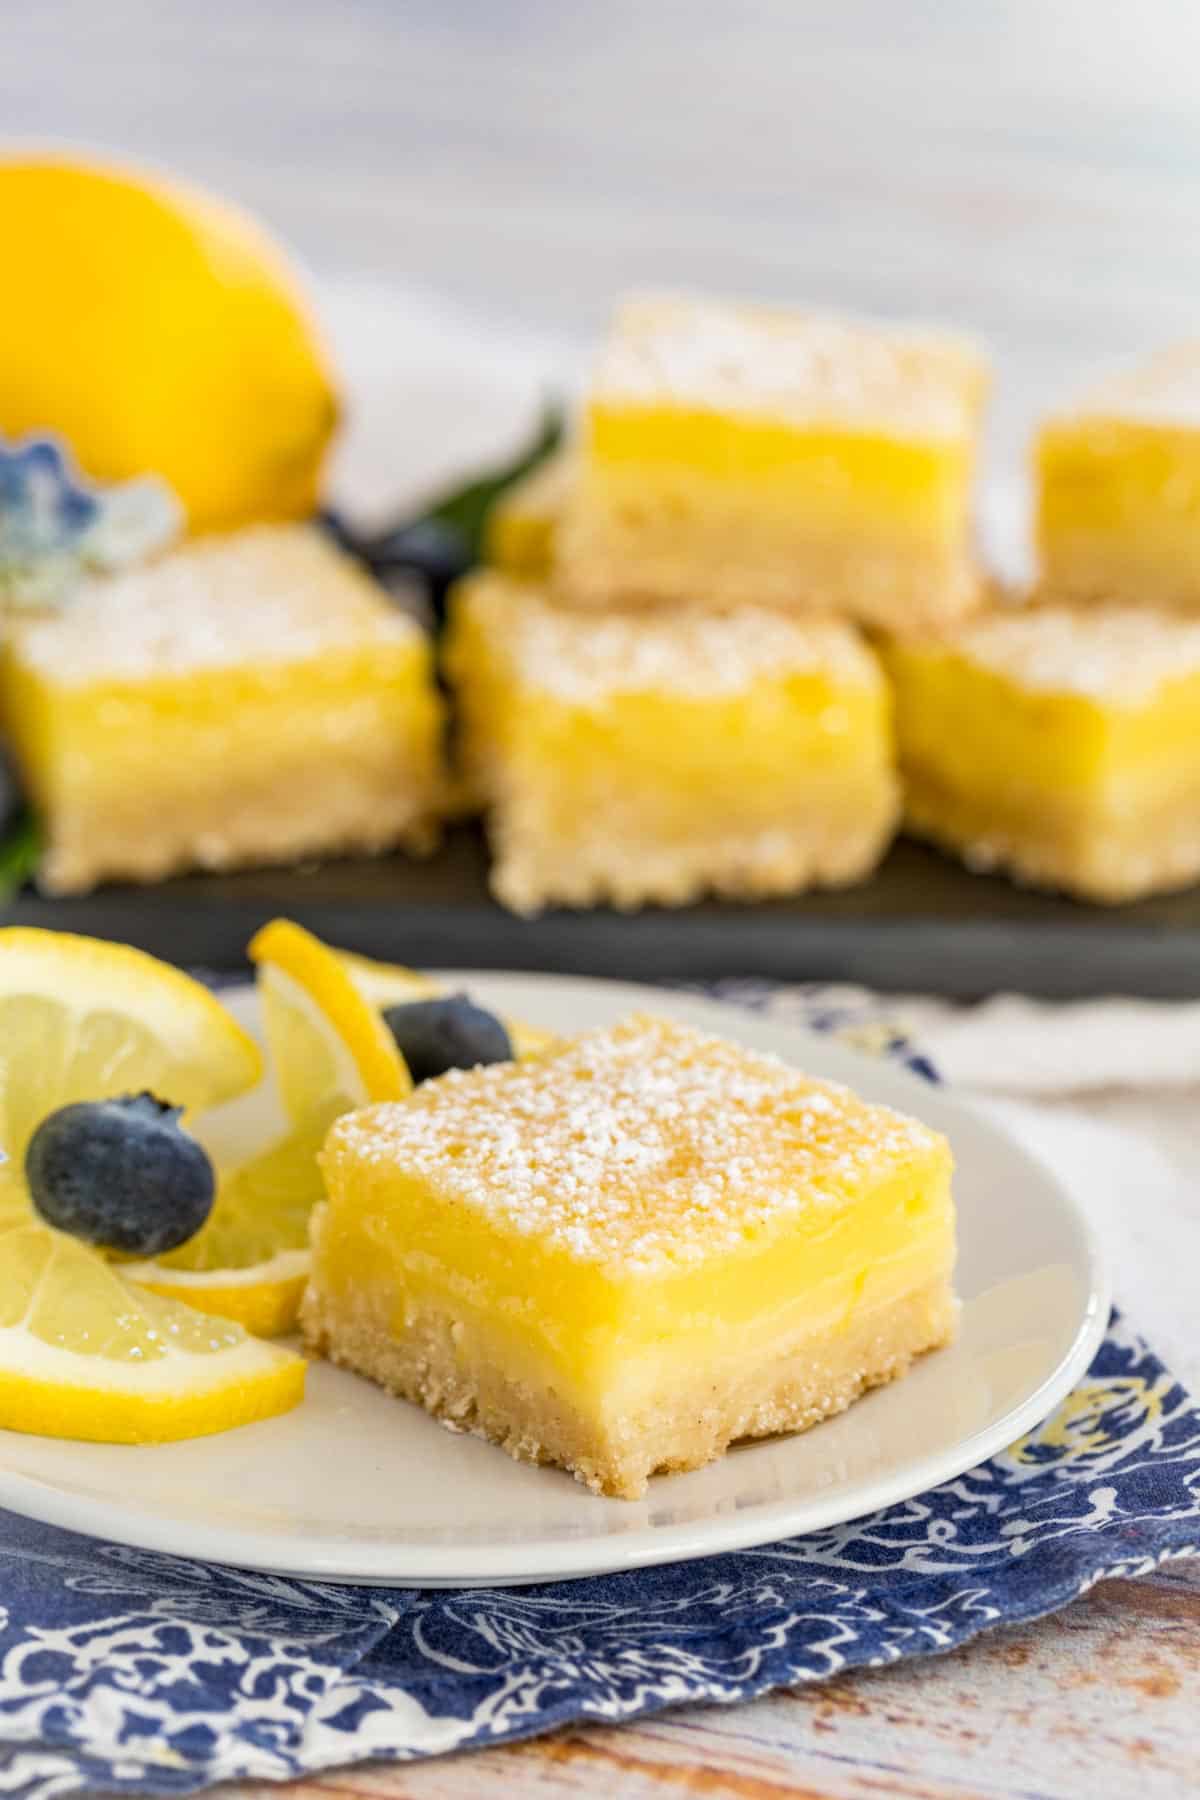
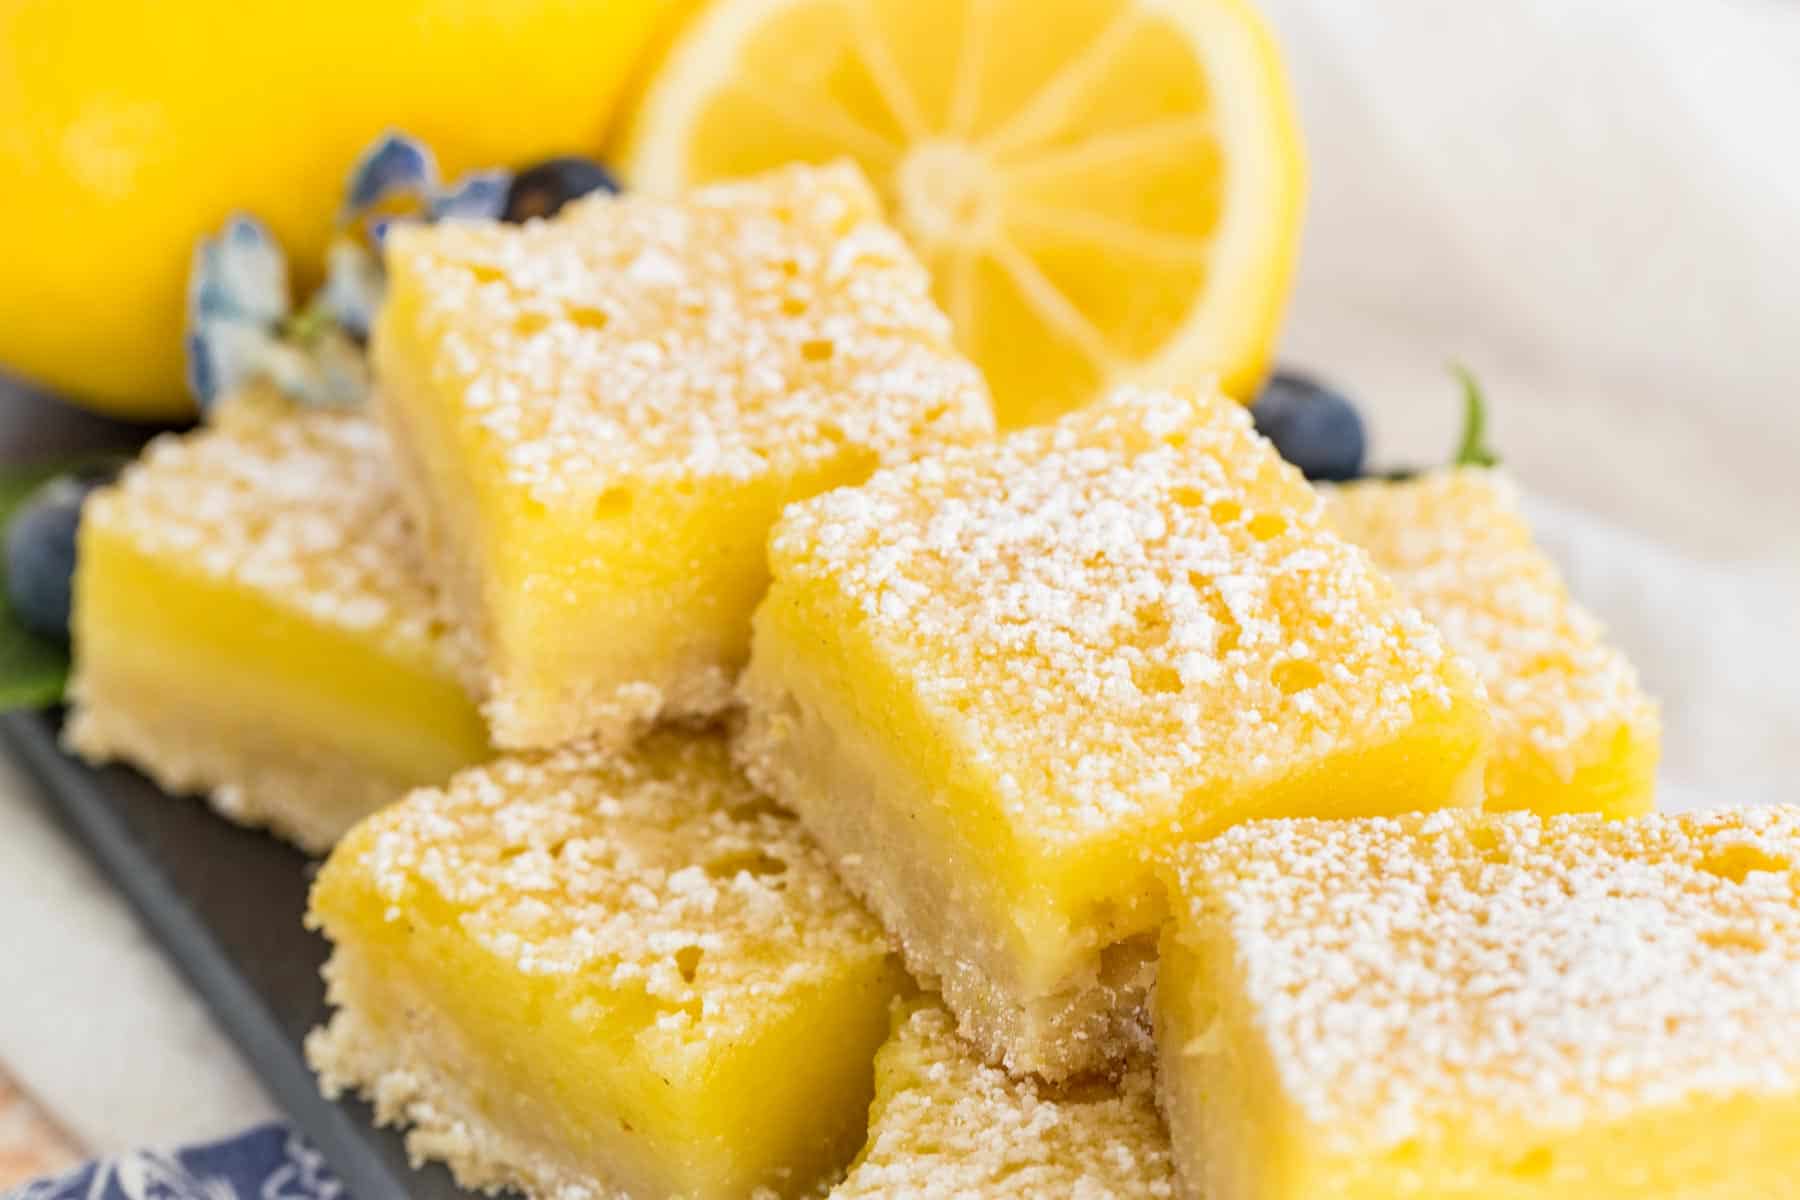
Tender and citrusy Gluten Free Lemon Bars are wonderfully tangy and perfect for any spring occasion, especially Easter or Mother’s Day! An easy dessert made with a thick layer of creamy lemon filling on top of a buttery gluten-free shortbread crust with all the bright, zesty flavor you crave.
Delicious Details
- Cuisine Inspiration: American
- Primary Cooking Method: Oven
- Dietary Info: Gluten-free, Dairy-free option
- Skill Level: Easy
Wonderfully Tangy Gluten Free Lemon Bars
With spring around the corner, I was inspired to make these perfectly citrusy, gluten-free lemon bars! These dessert bars are positively exploding with lemon flavor, from the creamy lemon filling right down to the zest in the shortbread-style crust.
I’m already planning to bring these lemon bars along to all my springtime gatherings, from Easter to Mother’s Day. If you’re as crazy for lemon desserts as I am, you’re going to love these gluten-free lemon bars! Here’s why…
- A classic dessert. This is a much-loved, traditional recipe that gluten free folks shouldn’t have to miss out on. So this will be your go-to recipe to enjoy this all-time favorite again.
- Simple preparation and flavors. This recipe is so easy and the resulting lemon squares are deliciously tender, sweet, and tangy. The smooth and zesty filling just melts in your mouth! Like a little taste of citrus heaven in every bite.
- Lovely for special occasions. These gluten free lemon bars are the ultimate springtime dessert, perfect to serve with a dollop of whipped cream. They’re wonderful to serve with coffee or tea. You can even dish these bars up with a scoop of vanilla ice cream for a little extra indulgence!
Ingredients You’ll Need
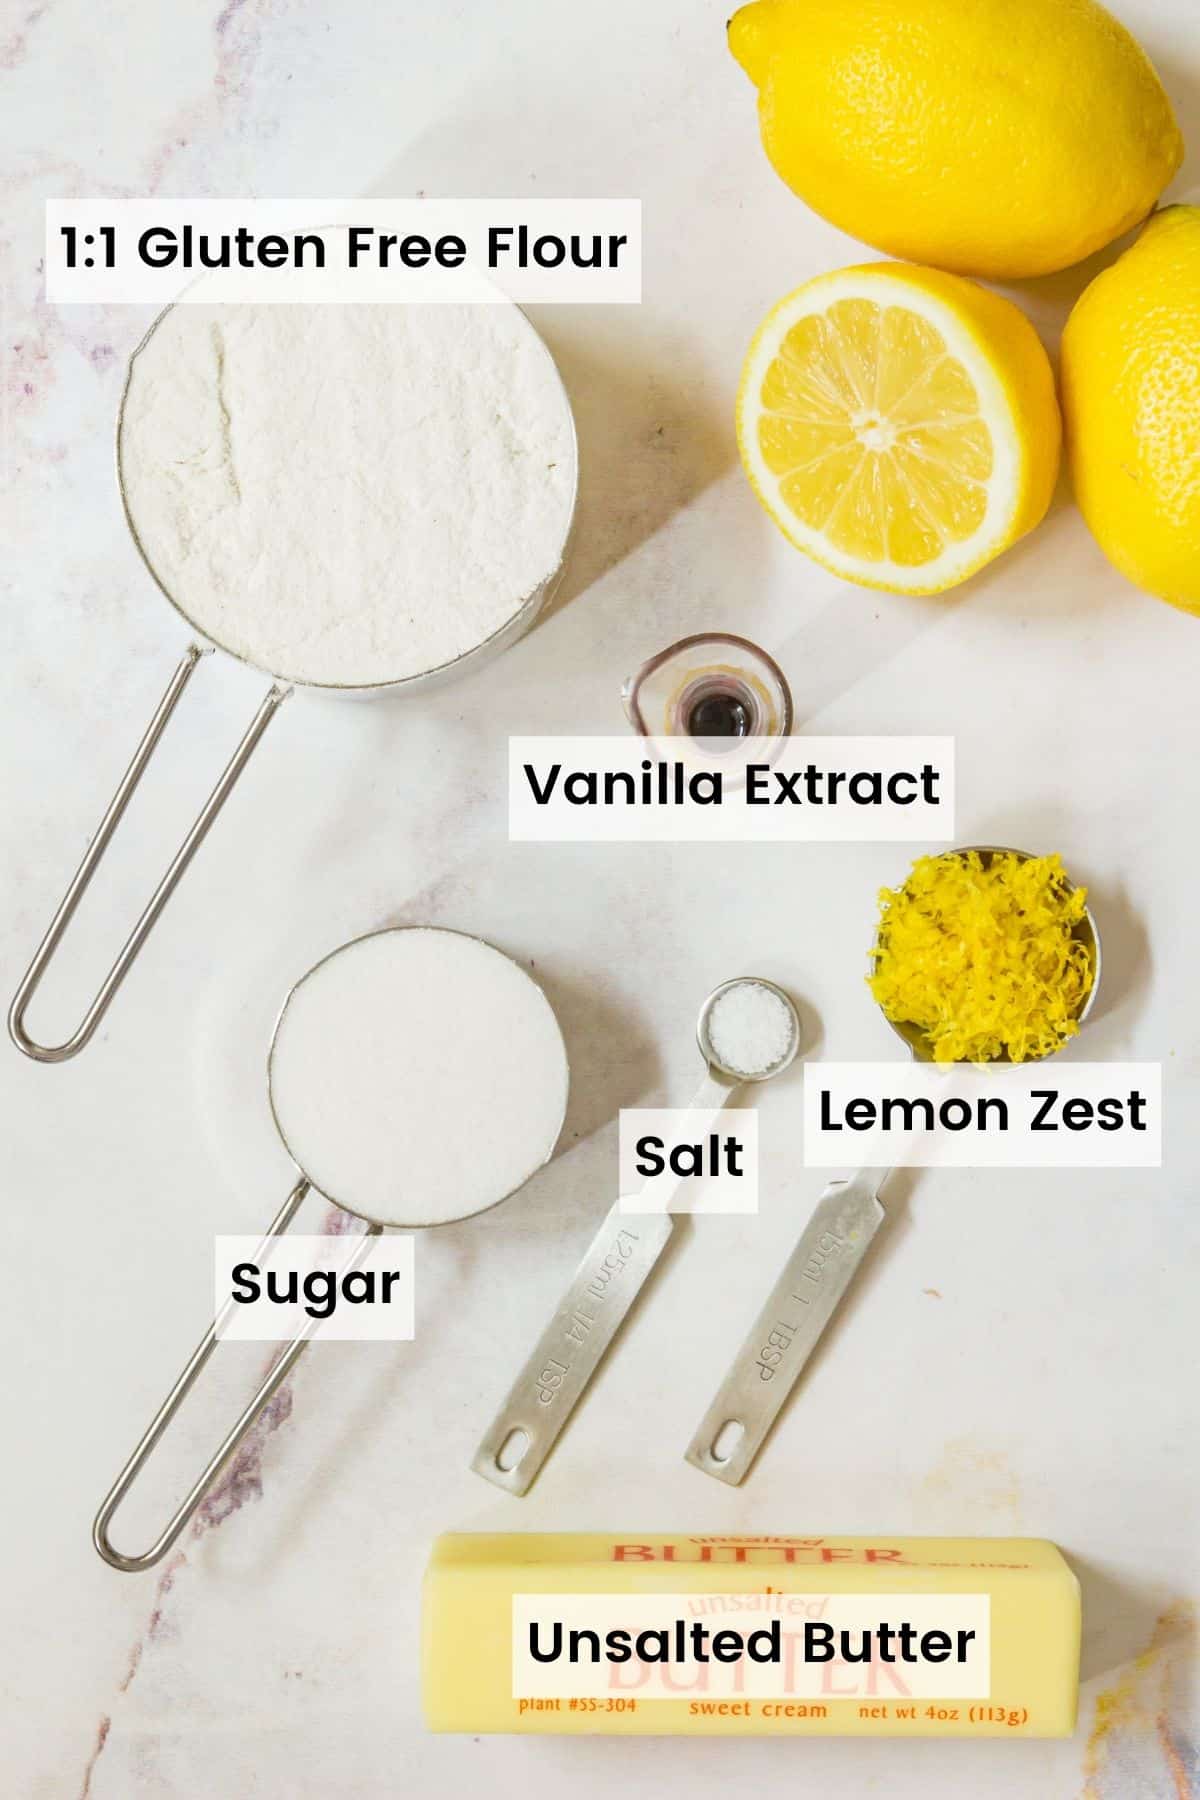
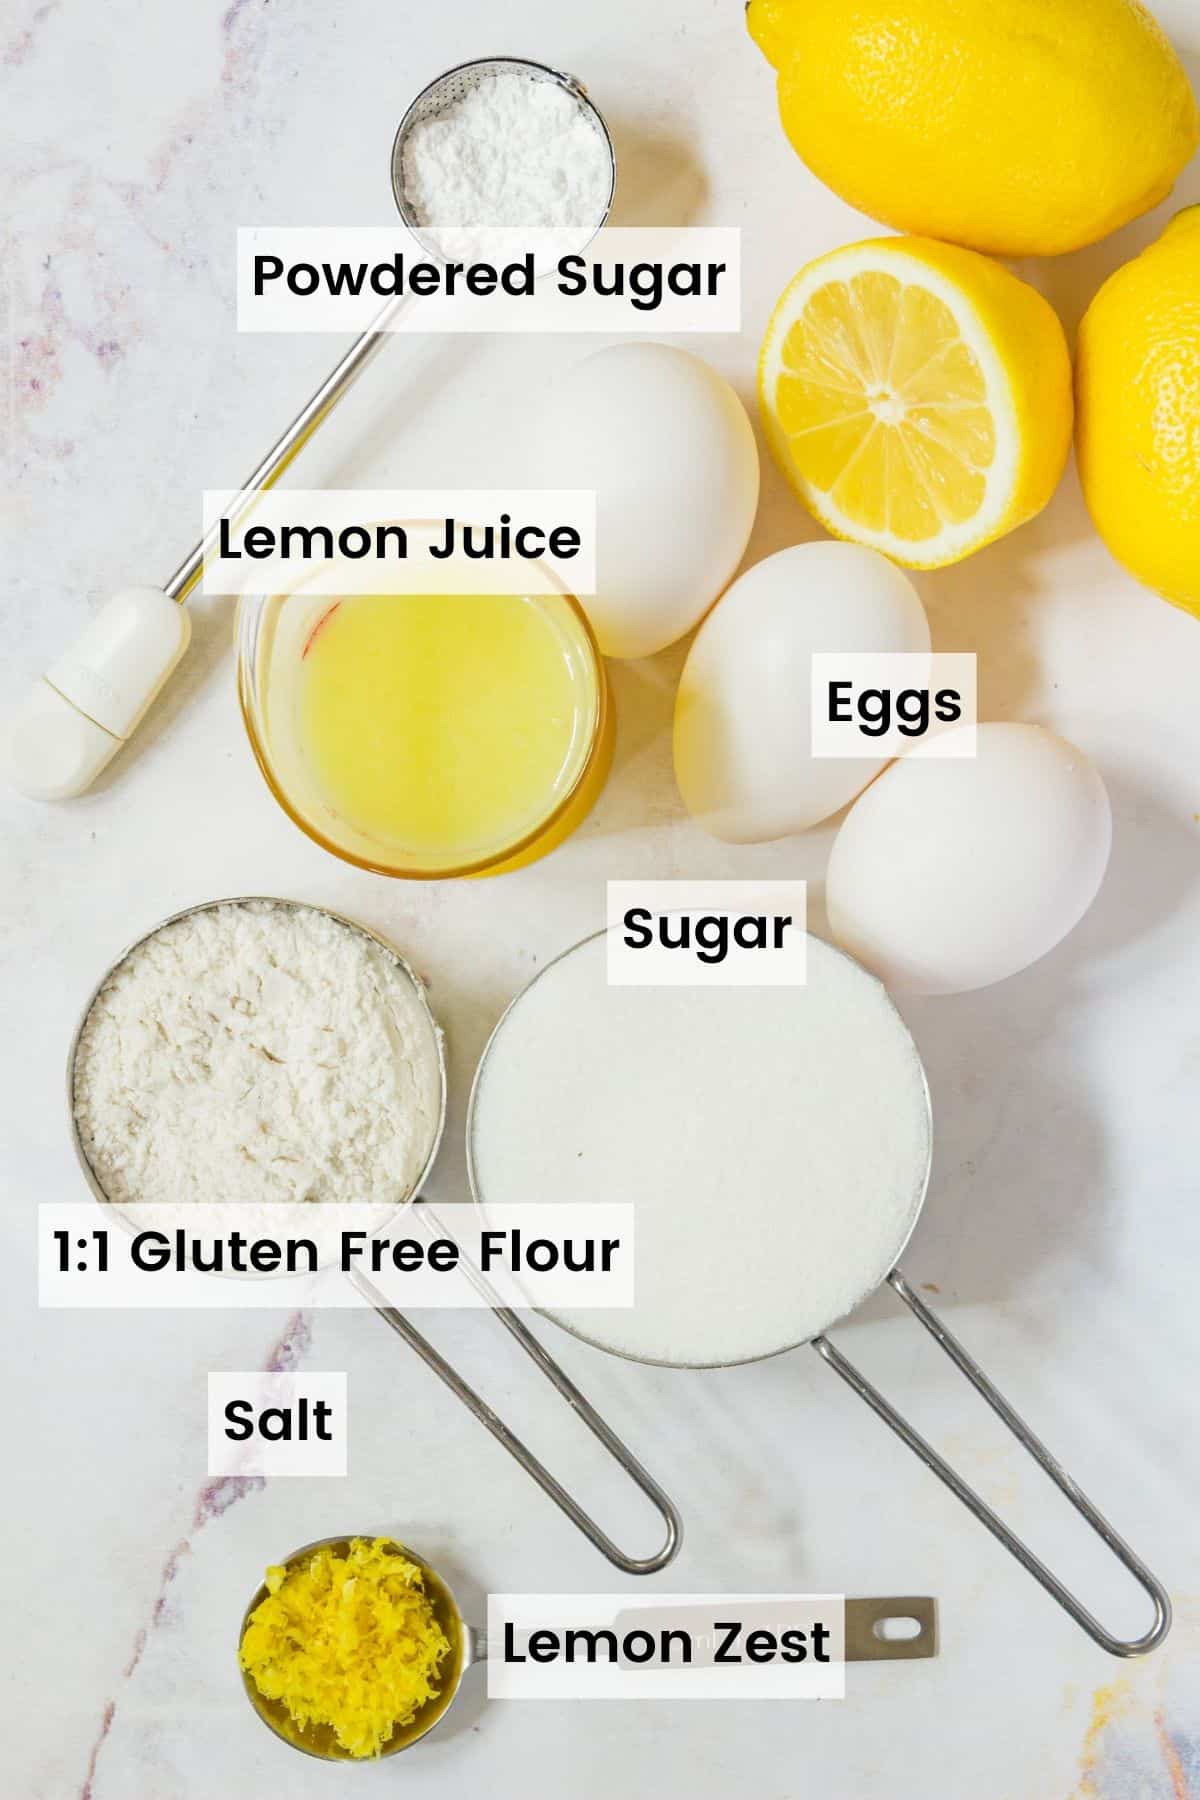
Here’s a rundown of everything you’ll need for the crust as well as the lemon filling for these bars. Keep on scrolling down to the recipe card for the full quantities.
For the Crust
- Butter: Unsalted butter, brought to room temperature. This will make it easier to mix with the other ingredients!
- Lemon Zest: Adding zest to the crust gives these bars even more fresh lemon flavor. Use a Microplane zester to get a finely grated zest.
- Vanilla Extract: Pure, natural vanilla will give your crust the best possible flavor.
- Gluten-Free Flour: Your preferred brand of gluten free all-purpose flour blend (I use Bob’s Red Mill). You can also substitute this with regular flour if you’re making bars that aren’t gluten-free.
- Sugar
- Salt
For the Filling
- Eggs: For richness, and as a binder for the filling ingredients. Use room temperature eggs for the smoothest possible filling.
- Lemon Juice: Freshly squeezed. You’ll need about 4 medium-sized lemons or 3 large lemons for a half cup of juice.
- Gluten-Free Flour: Same as above, use your brand of choice.
- Lemon Zest: These bars aren’t cutting any corners when it comes to lemon flavor!
- Sugar
- Salt
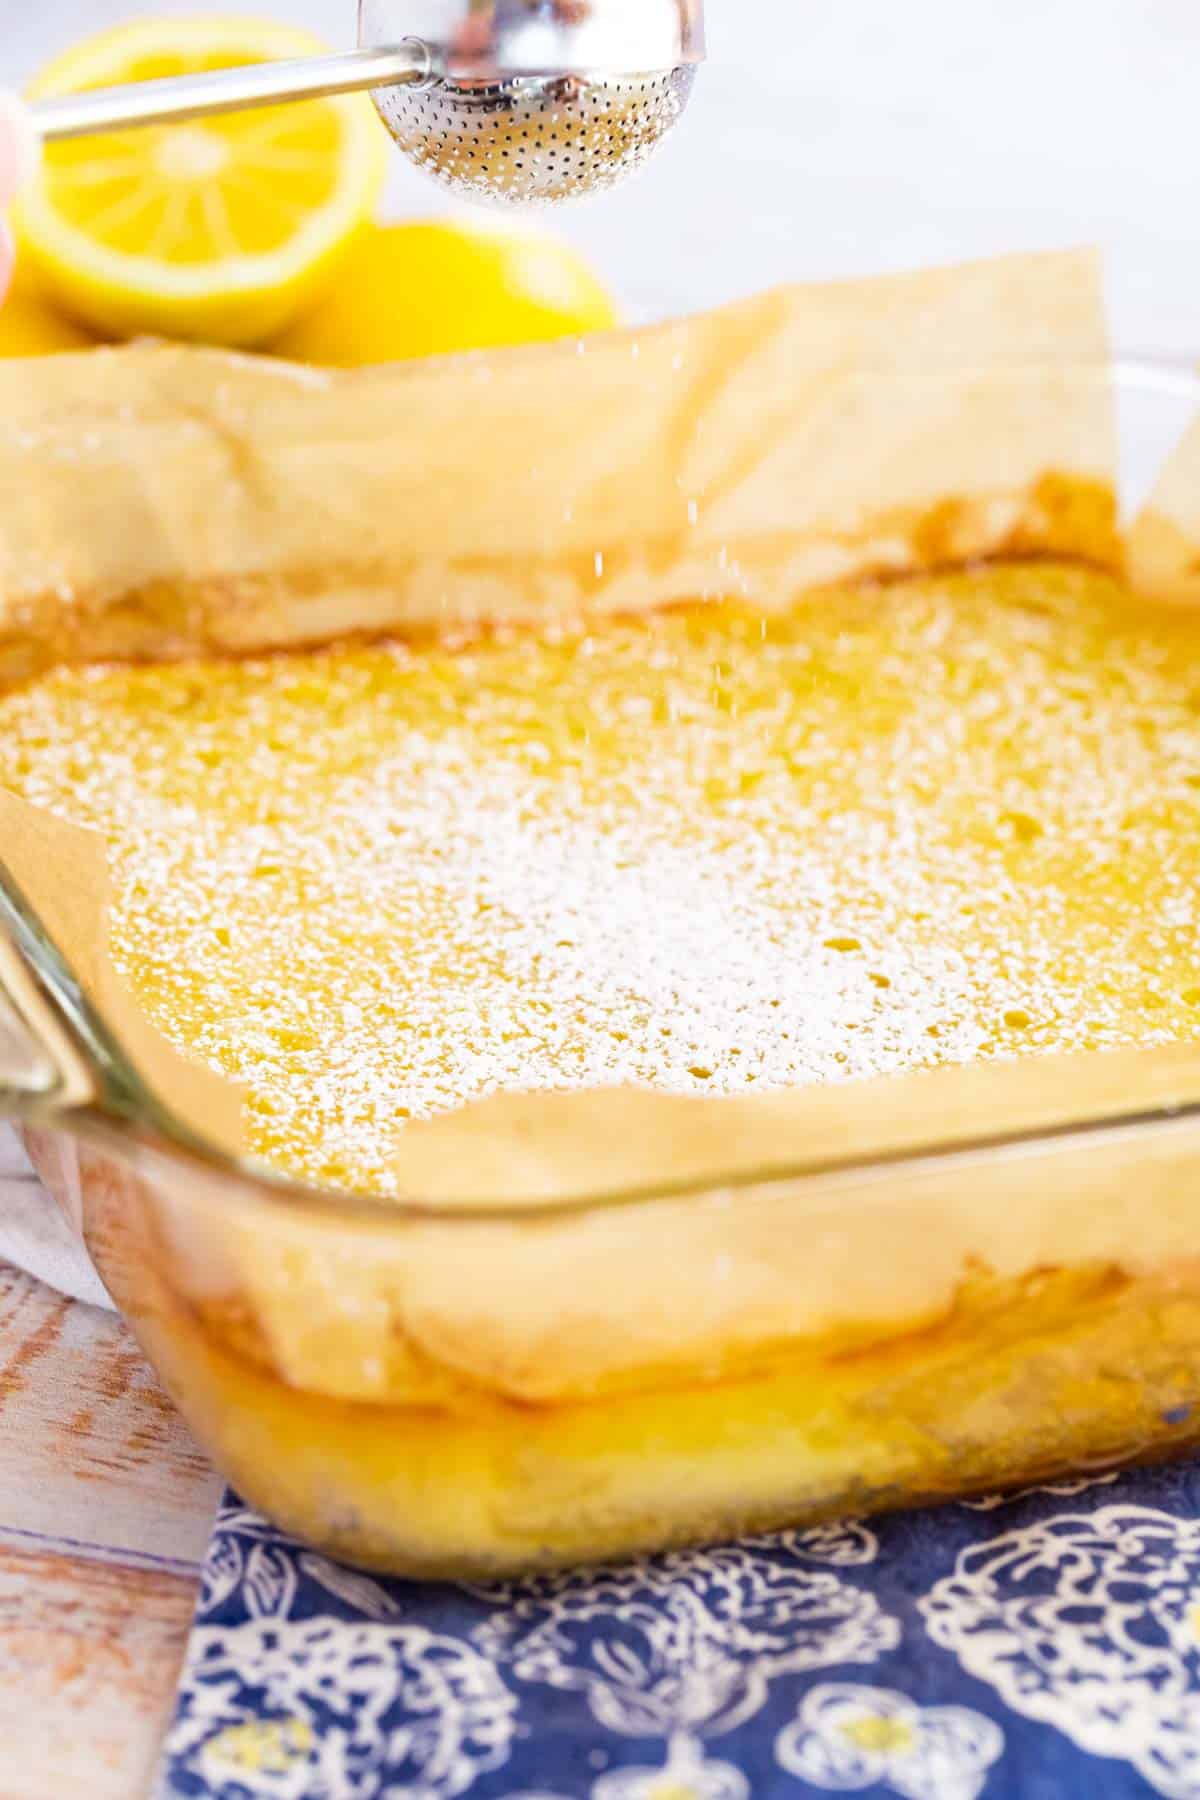
- Powdered Sugar: For garnishing the bars. While most powdered sugar (a.k.a. confectioner’s sugar) is gluten free, always check the ingredients list to be sure! Sprinkling it on with a dusting wand gives you a nice, light coating without large clumps.
How to Make Gluten-Free Lemon Bars
Let’s run down how to make these easy bars. The detailed instructions can be found further below in the recipe card.
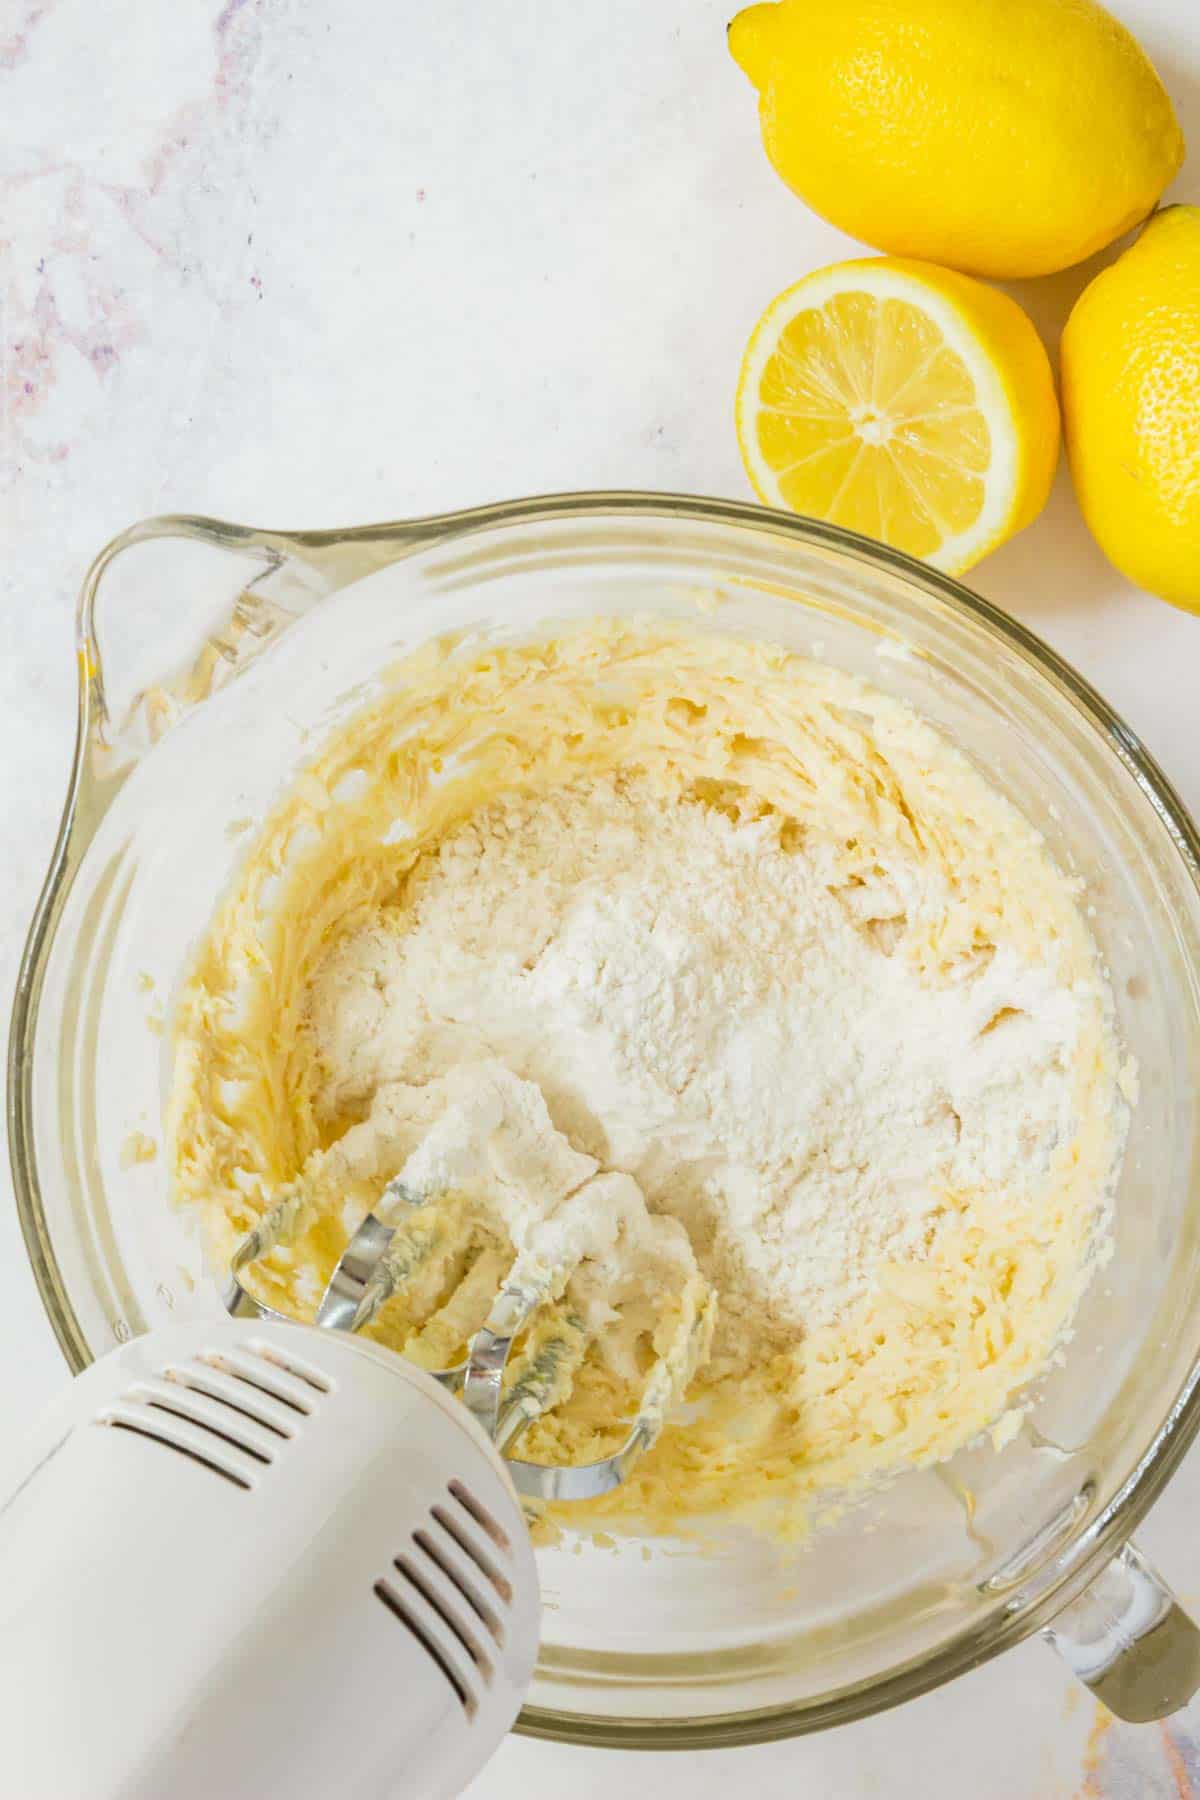
- Prepare the Dough: Beat together the crust ingredients, adding the flour and salt last. Mix until you have a smooth dough.
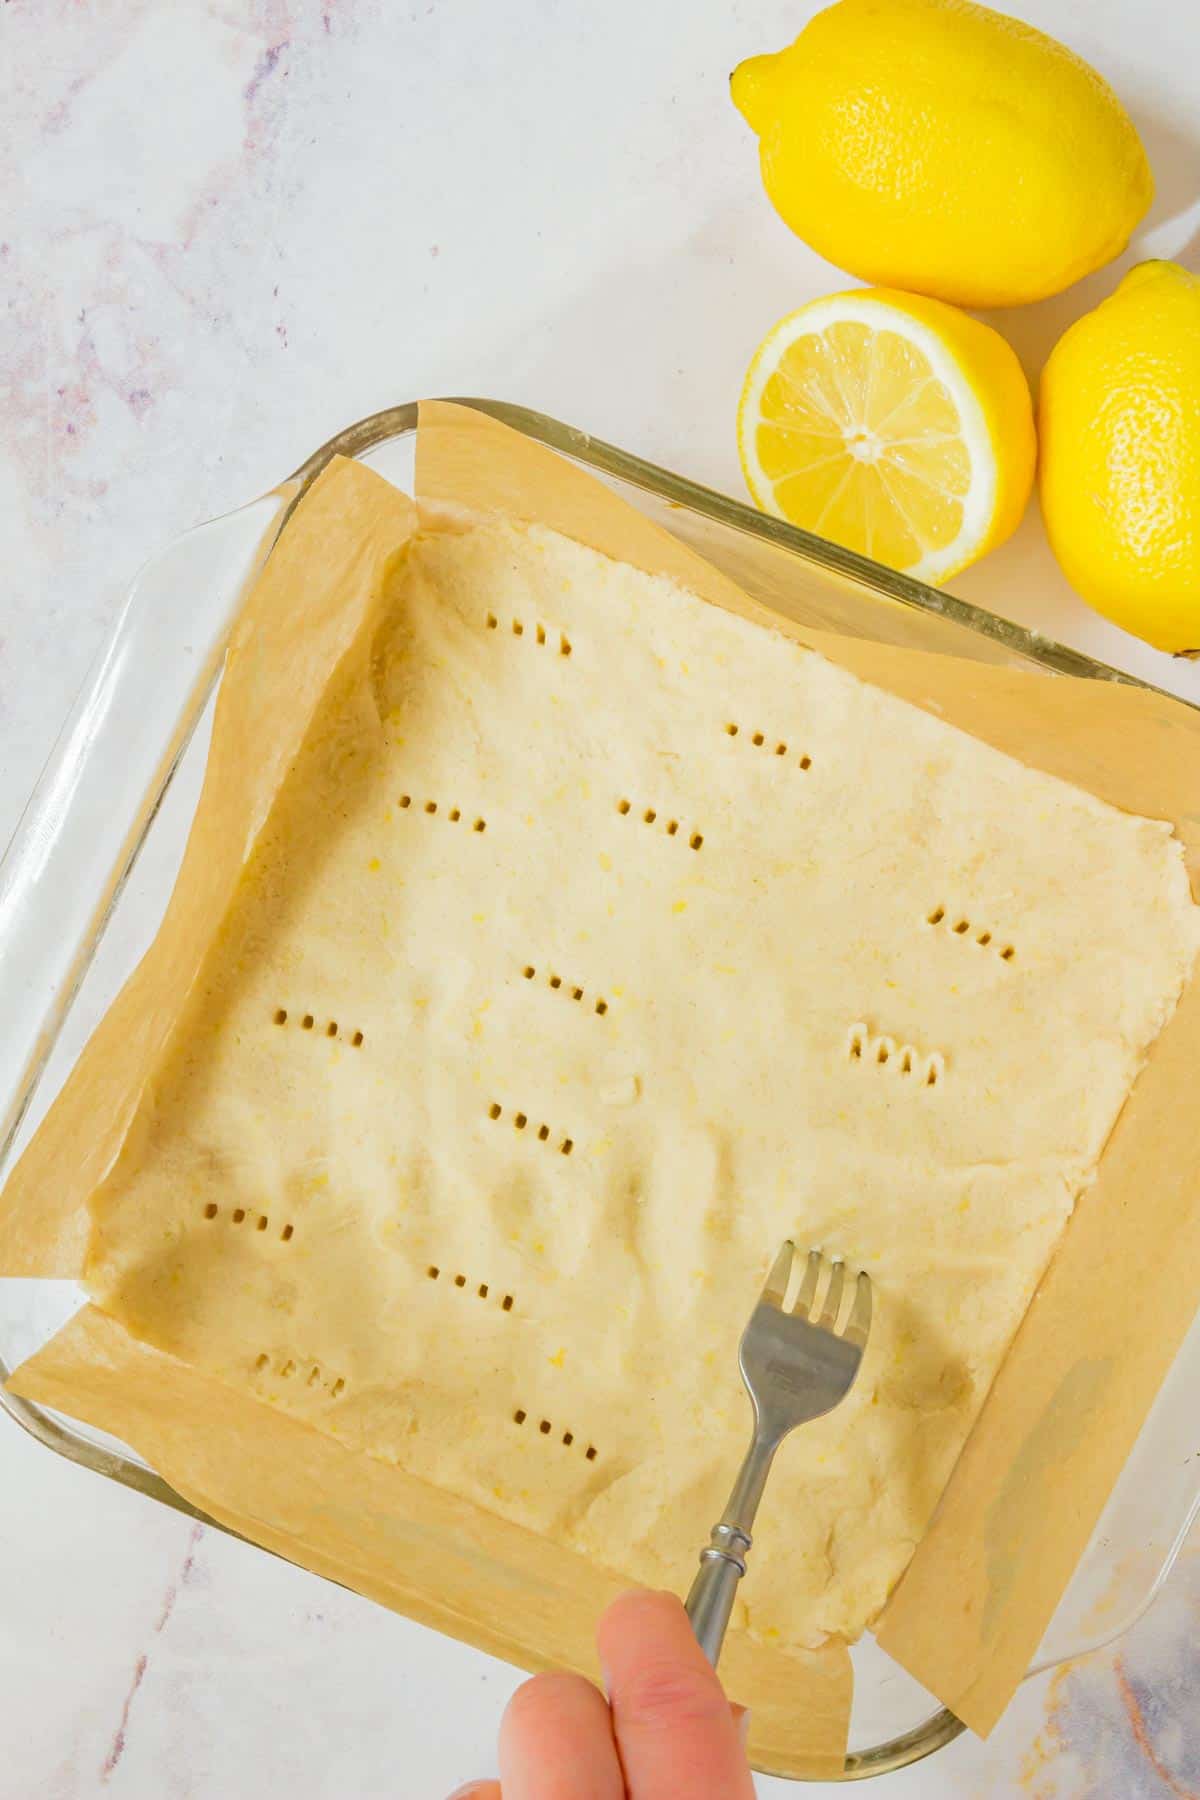
- Bake the Crust: Press the dough evenly into a baking dish lined with parchment paper. Use a fork to prick holes in the dough, and then bake the crust in a preheated oven until it’s firm and golden.
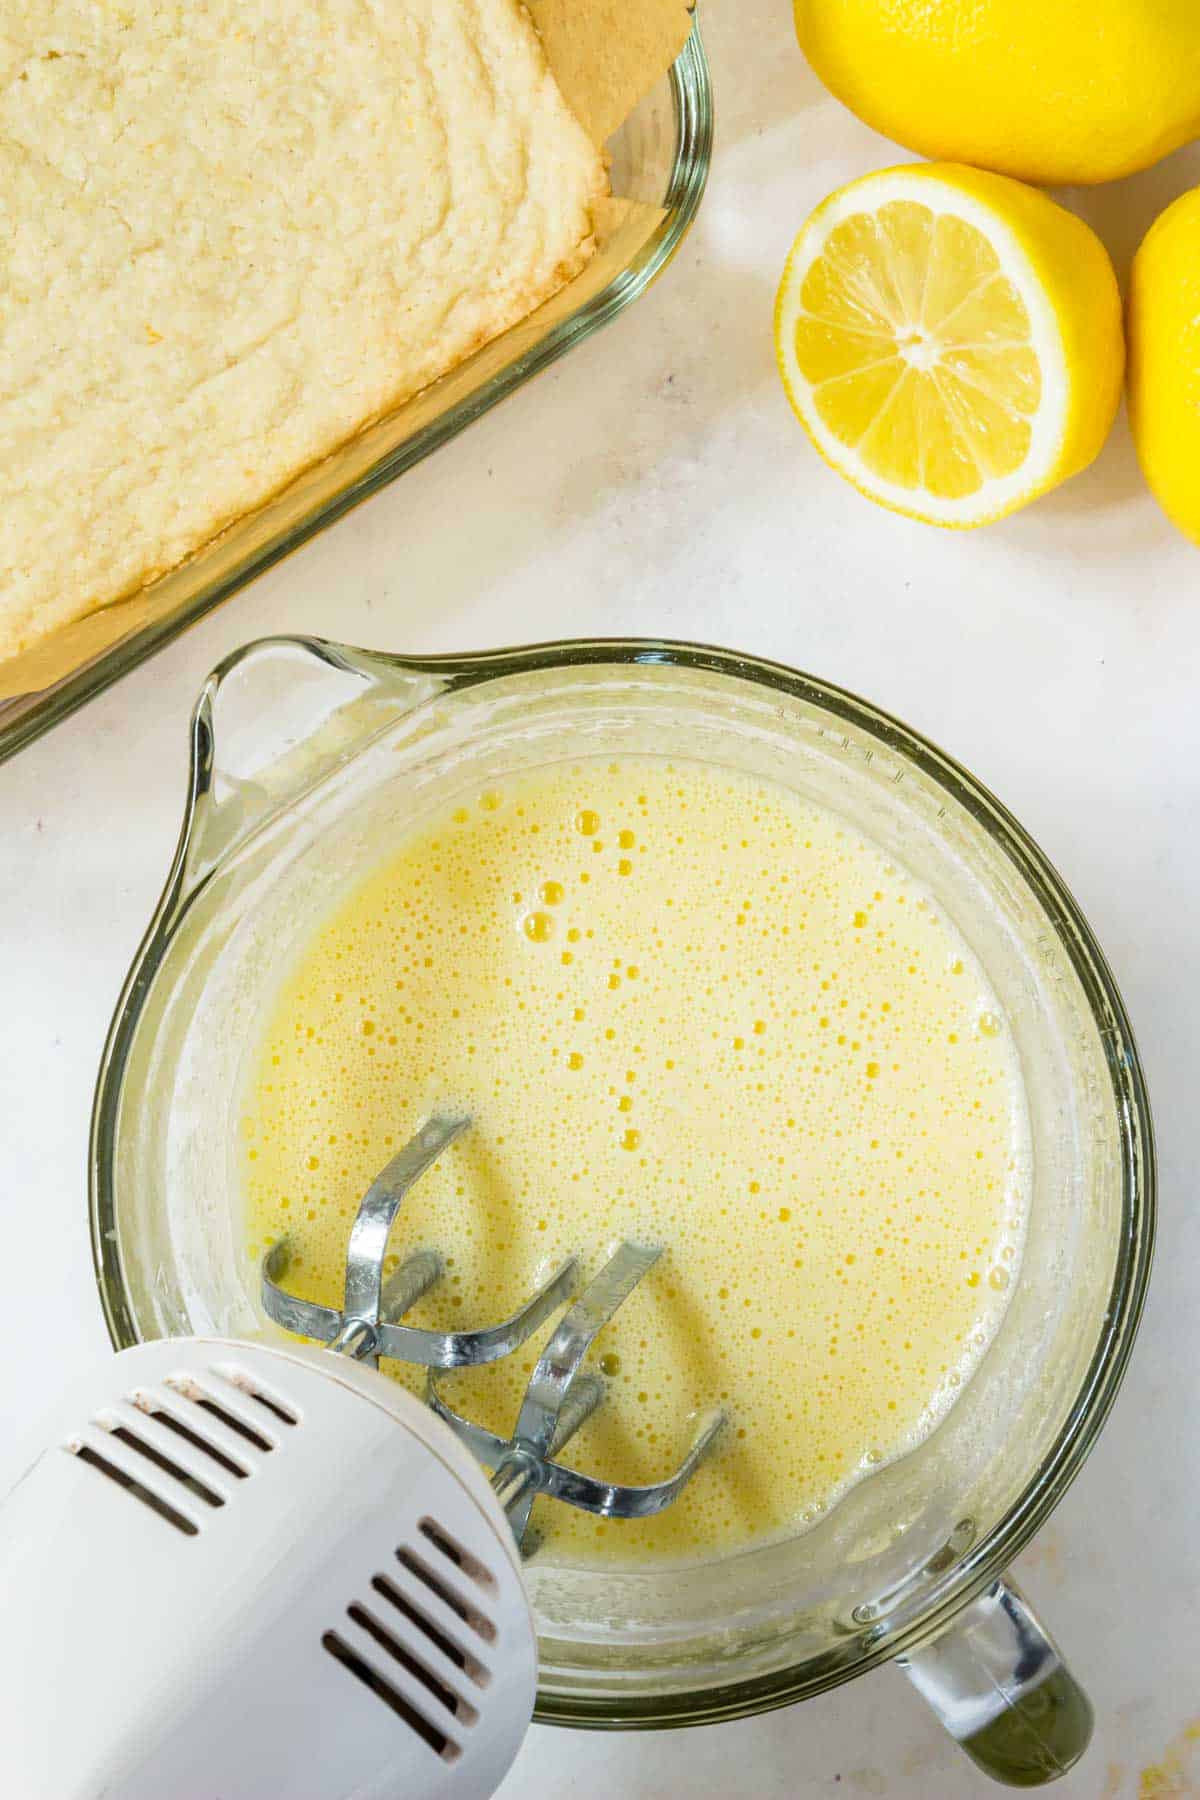
- Make the Lemon Filling: While the crust is cooling, combine and mix the filling ingredients.
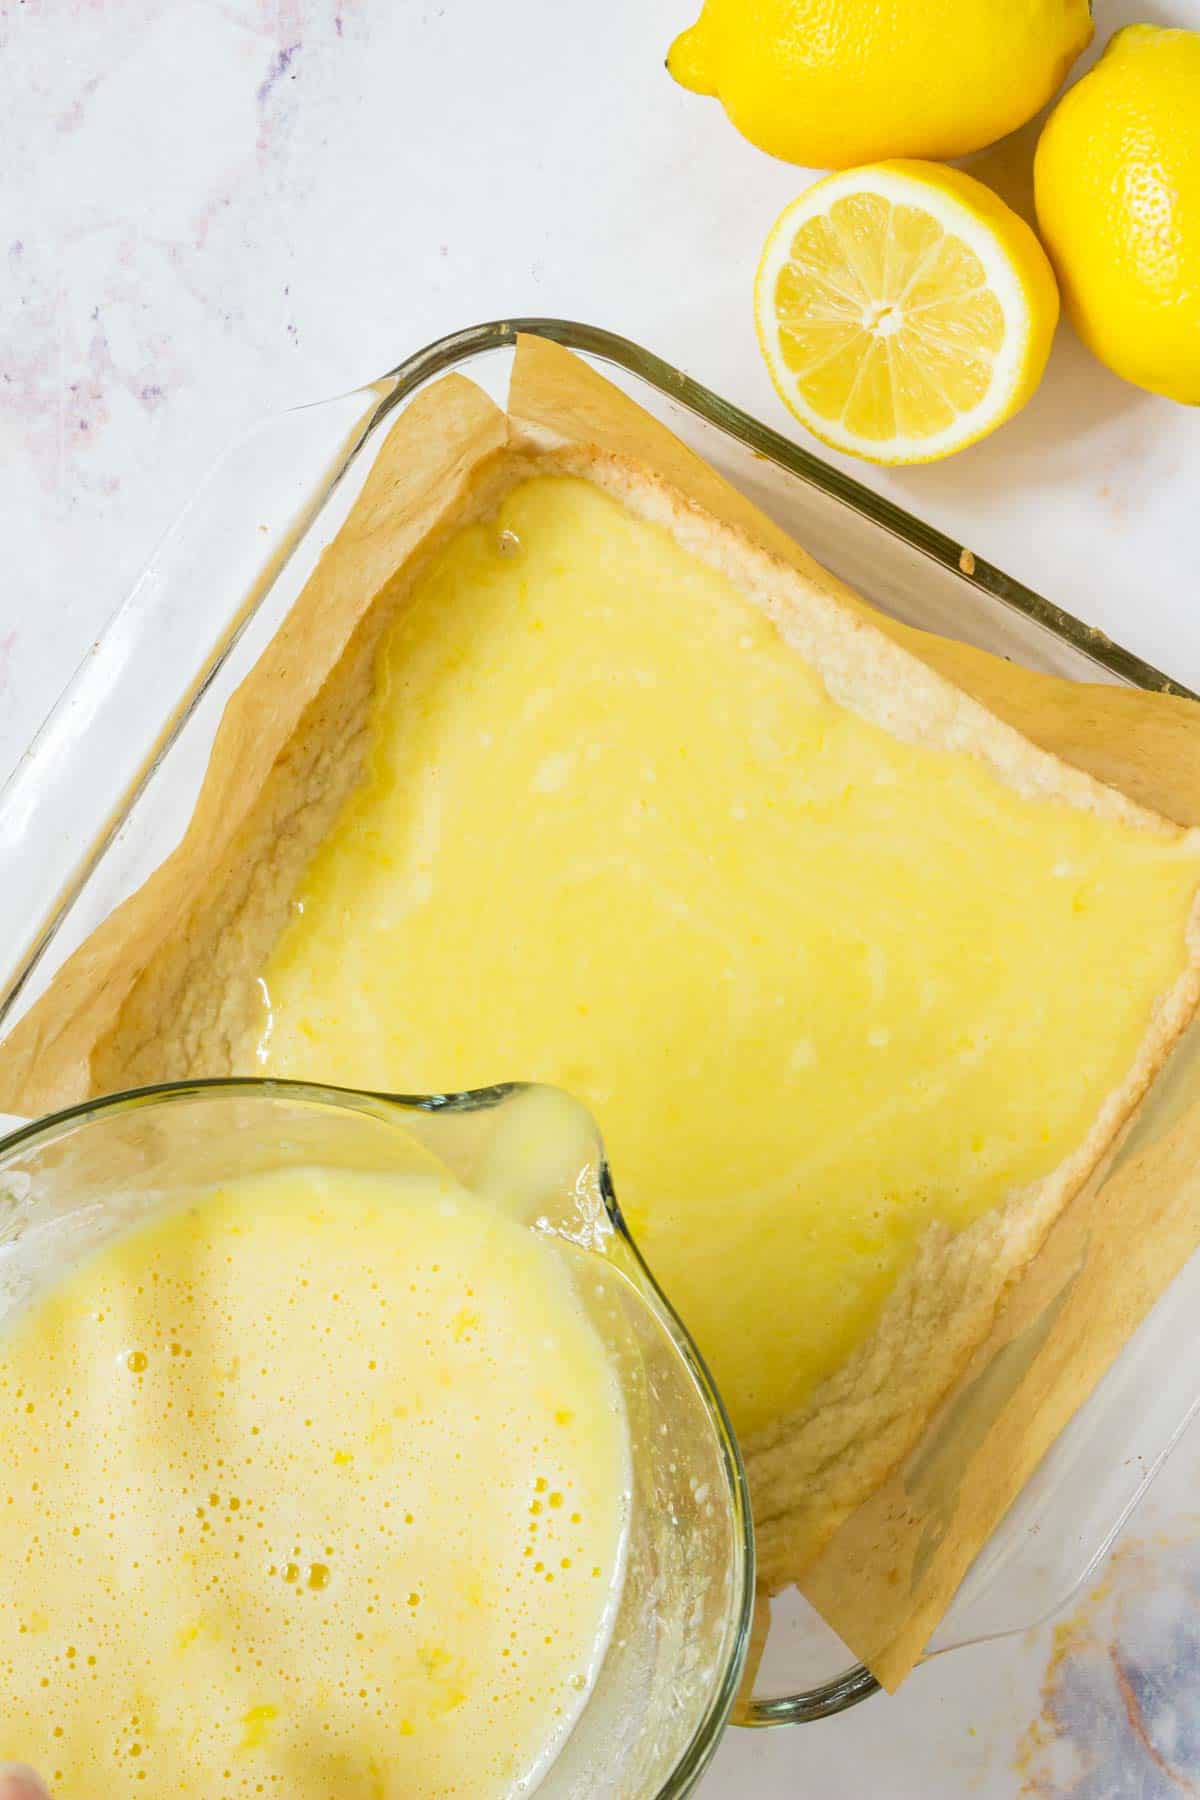
- Bake the Bars: Pour the filling over the crust and place the bars back into the oven for another half hour or so, until they’re set in the center.
- Cool the Bars: Once the bars are out of the oven, leave them to cool in the pan for a while, before transferring them from the pan onto a wire rack.
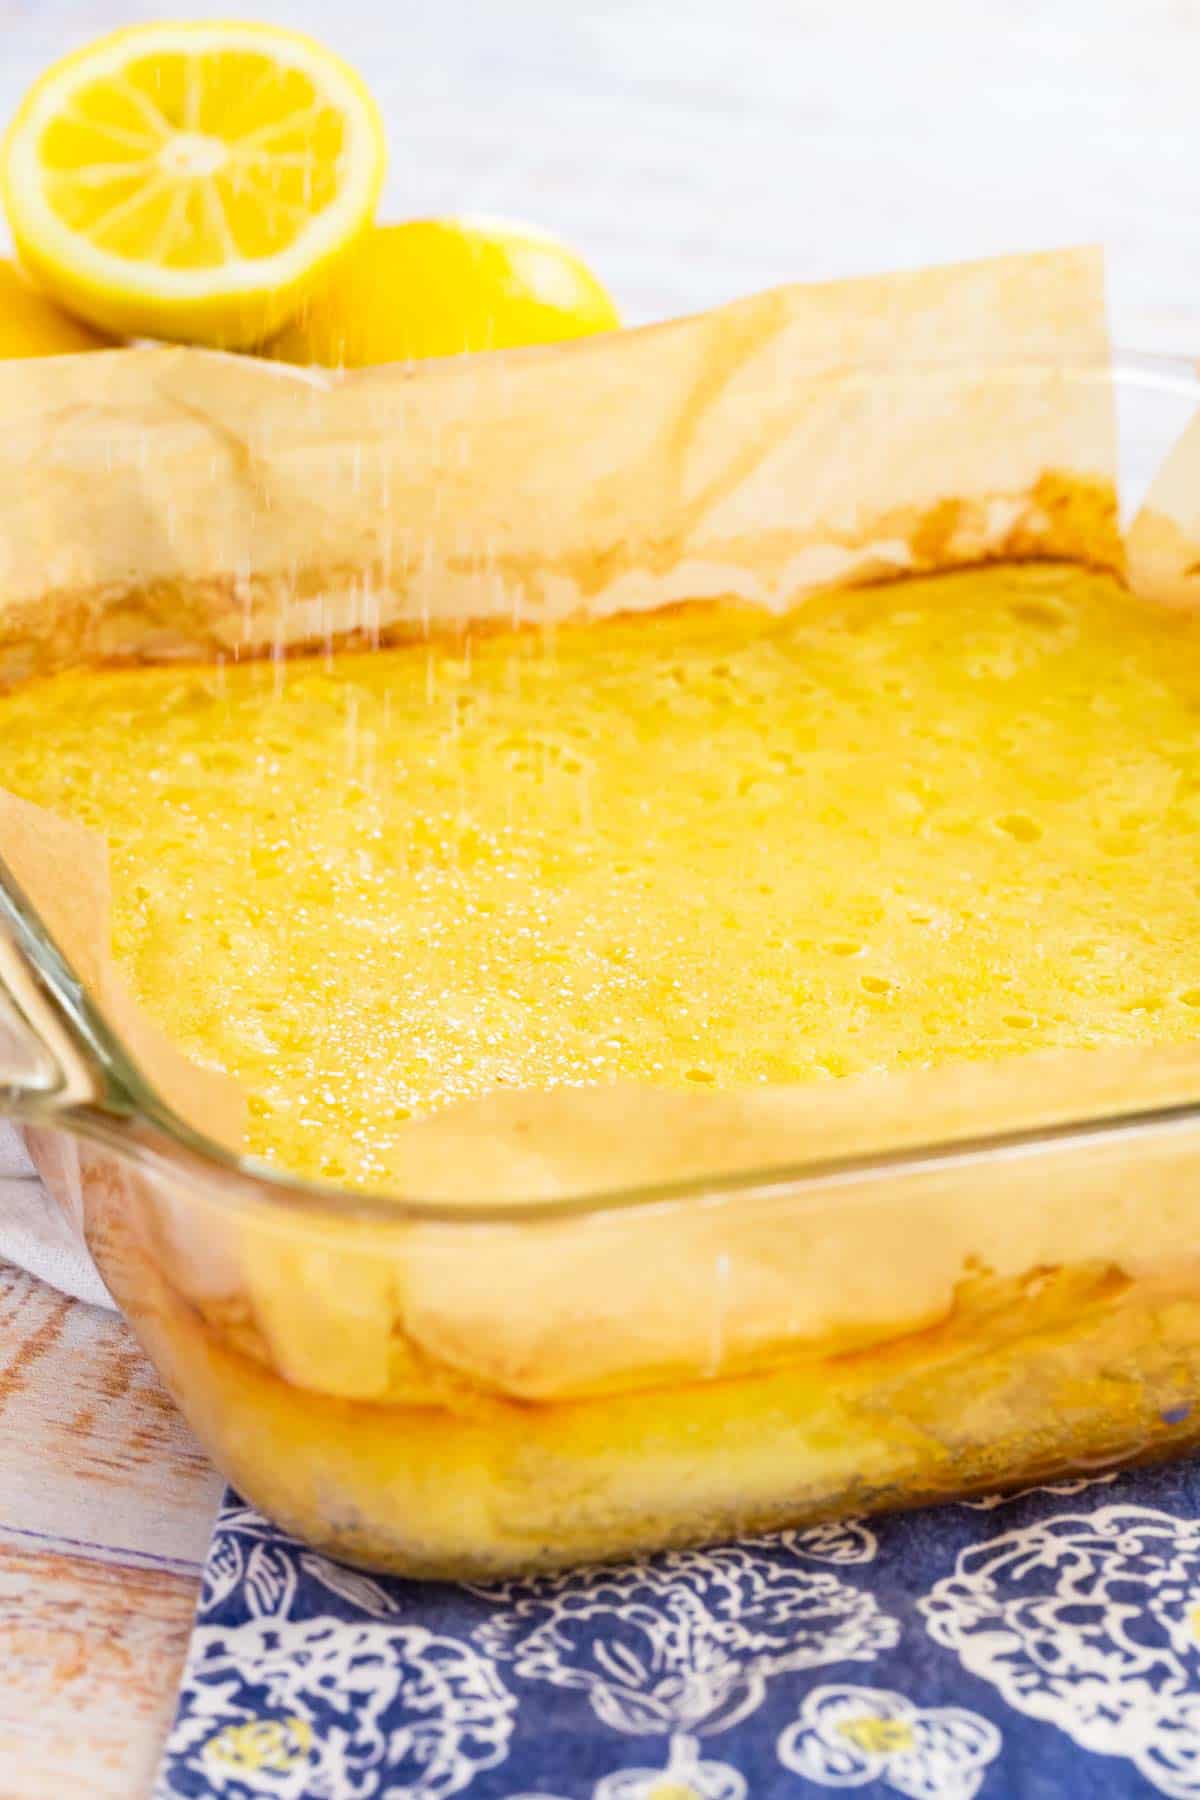
- Cut and Serve: Wait until the slab of lemon bars has cooled completely before dusting the top with powdered sugar and slicing into squares.
Tips for Success
Keep these things in mind for the best lemon bars:
- Use the Right Pan: I recommend an 8×8-inch glass baking pan for these lemon bars (rather than a metal baking pan, which can darken the crust). Alternatively, you could use a 9×9 inch square pan, but this will result in thinner bars that may need an adjusted baking time.
- Line the Pan: I include this tip in my recipe because it really makes a difference! Lining the pan with parchment paper helps to achieve perfect edges, plus you can lift the whole slab out of the pan for cooling and cutting.
- Use Fresh Lemons: When it comes to the citrusy filling for the most amazing lemon bars, nothing beats the flavor of freshly squeezed lemons! Bottled lemon juice can be a bit too tart and bitter instead of bright and fresh.
- Get the Most Juice. To get the maximum amount of juice from your lemons try microwaving the whole lemon for 30 seconds to break down the membranes, then roll it on the countertop to further loosen the lemon flech and release the juices. Then cut the lemon lengthwise and use a lemon squeezer or juicer to extract the lemon juice. My favorite is this handheld citrus squeezer.
- If Your Filling Has Air Bubbles: It’s normal to have air bubbles in the baked lemon bars. While it doesn’t always happen, if it does, it doesn’t affect the overall texture or amazing taste of these bars! Plus, you can easily cover up any bubbles with a little extra dusting of powdered sugar.
How to Store Homemade Lemon Bars
- Room temperature. These lemon bars will keep at room temperature for up to 3 days, but I recommend refrigerating them.
- Refrigerator. They are best stored airtight in the fridge, for up to one week. Chilling not only extends their shelf life, but also enhances the flavors!
- Freezer. These lemon bars can be frozen for up to 3 months. Once cut into squares, flash freeze the bars until solid. Next, wrap the bars individually (in either aluminum foil or plastic wrap) to store in a freezer bag. Thaw the lemon bars in the fridge and then dust with powdered sugar before serving.
More Gluten Free Lemon Desserts
- Better than Starbucks Gluten Free Lemon Pound Cake
- Dreamy and tangy Gluten Free Lemon Cupcakes
- An essential classic Gluten Free Lemon Meringue Pie
- Simple semi-homemade Gluten Free Lemon Sandwich Cookies
- Buttery and tender Gluten Free Lemon Shortbread Cookies
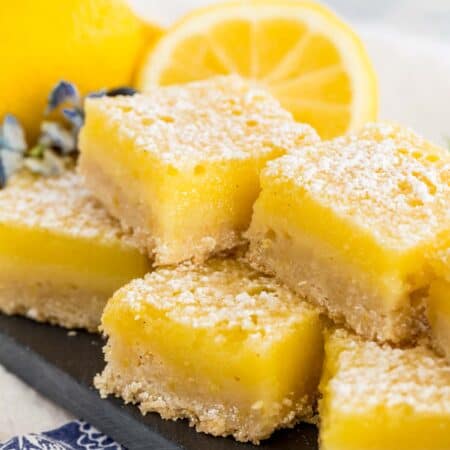
Easy Gluten Free Lemon Bars
Ingredients
For the Crust
- ½ cup unsalted butter (1 stick), at room temperature
- ¼ cup granulated sugar
- 1 tbsp lemon zest (grated on a Microplane)
- 1 tsp vanilla extract
- 1 cup gluten-free all-purpose flour
- ⅛ tsp kosher salt
For the Filling
- 3 eggs at room temperature
- 1 cup granulated sugar
- ½ cup lemon juice freshly squeezed
- 1 tbsp lemon zest (grated on a Microplane)
- ½ cup gluten-free all-purpose flour
- ⅛ tsp kosher salt
- Powdered sugar for garnish
Instructions
- Preheat the oven to 350°F. Grease an 8×8-inch baking dish and line with overlapping rectangles of parchment paper.
- In a large bowl with an electric mixer, beat together the softened butter, sugar, lemon zest, and vanilla until light and fluffy. Add the flour and salt and mix until uniform.
- Transfer the dough to the prepared baking dish and press into an even layer with your hands (wet them to prevent sticking). Use a fork to poke holes in the crust all over. Bake for 20 minutes, until the crust is golden brown and firm in the center. Cool for about 10 minutes.
- To make the filling, in a mixing bowl, beat together the eggs, sugar, lemon juice, lemon zest, flour, and salt until uniform.
- Pour the filling over the semi-cooled crust. Bake for another 20-30 minutes, or until the filling is set in the center.
- Cool for 20 minutes in the pan, then remove to a wire rack and cool completely. Dust with powdered sugar and slice into 2-inch bars.


Made filling recipe as directed. Baked 25 minutes of the recommended 20-30 min. Found the center to not be set enough. I would recommend the full 30 minute bake.
For the crust, I used 1/2 cup gluten free 1-4-1 flour and 1/2 cup of almond flour. Came out great.
I will be making these again for sure.
Just really had a craving for these and they turned out beautiful! I had to substitute the butter with coconut oil and it worked great
Wonderful, thank you!
Can you use almond flour instead of gluten free all purpose?
I have not tested this specific recipe, but I do use an almond flour crust for my Peach Cheesecake Bars, so you can perhaps try that as the base – https://cupcakesandkalechips.com/gluten-free-no-bake-peach-cheesecake-bars/
I made these with unrefined coconut sugar and of course they came out a tiny darker but soooooo good and less guilt 😉
What a loooong recipe explanation and peppered with adds! No time for this.
There is always the ‘jump to recipe’ button if you don’t have time to read the background.
It’s so simple to click Jump to Recipe at the top! That would have been easier than writing a rude review.
These are AMAZING! 🥰 so tangy and delicious! The crust is perfect and crisp as well!