This post may contain affiliate links. Read my disclosure policy.
Easy No Bake Chocolate Oatmeal Cookies will satisfy your sweet tooth without having to turn on the oven! Loaded with chocolate and creamy peanut butter, these cookies are a total classic that’s the perfect treat when you have no time for baking. And they can be adapted to include more add-ins – chocolate chips, candy, and more – or enjoy them just as they are.
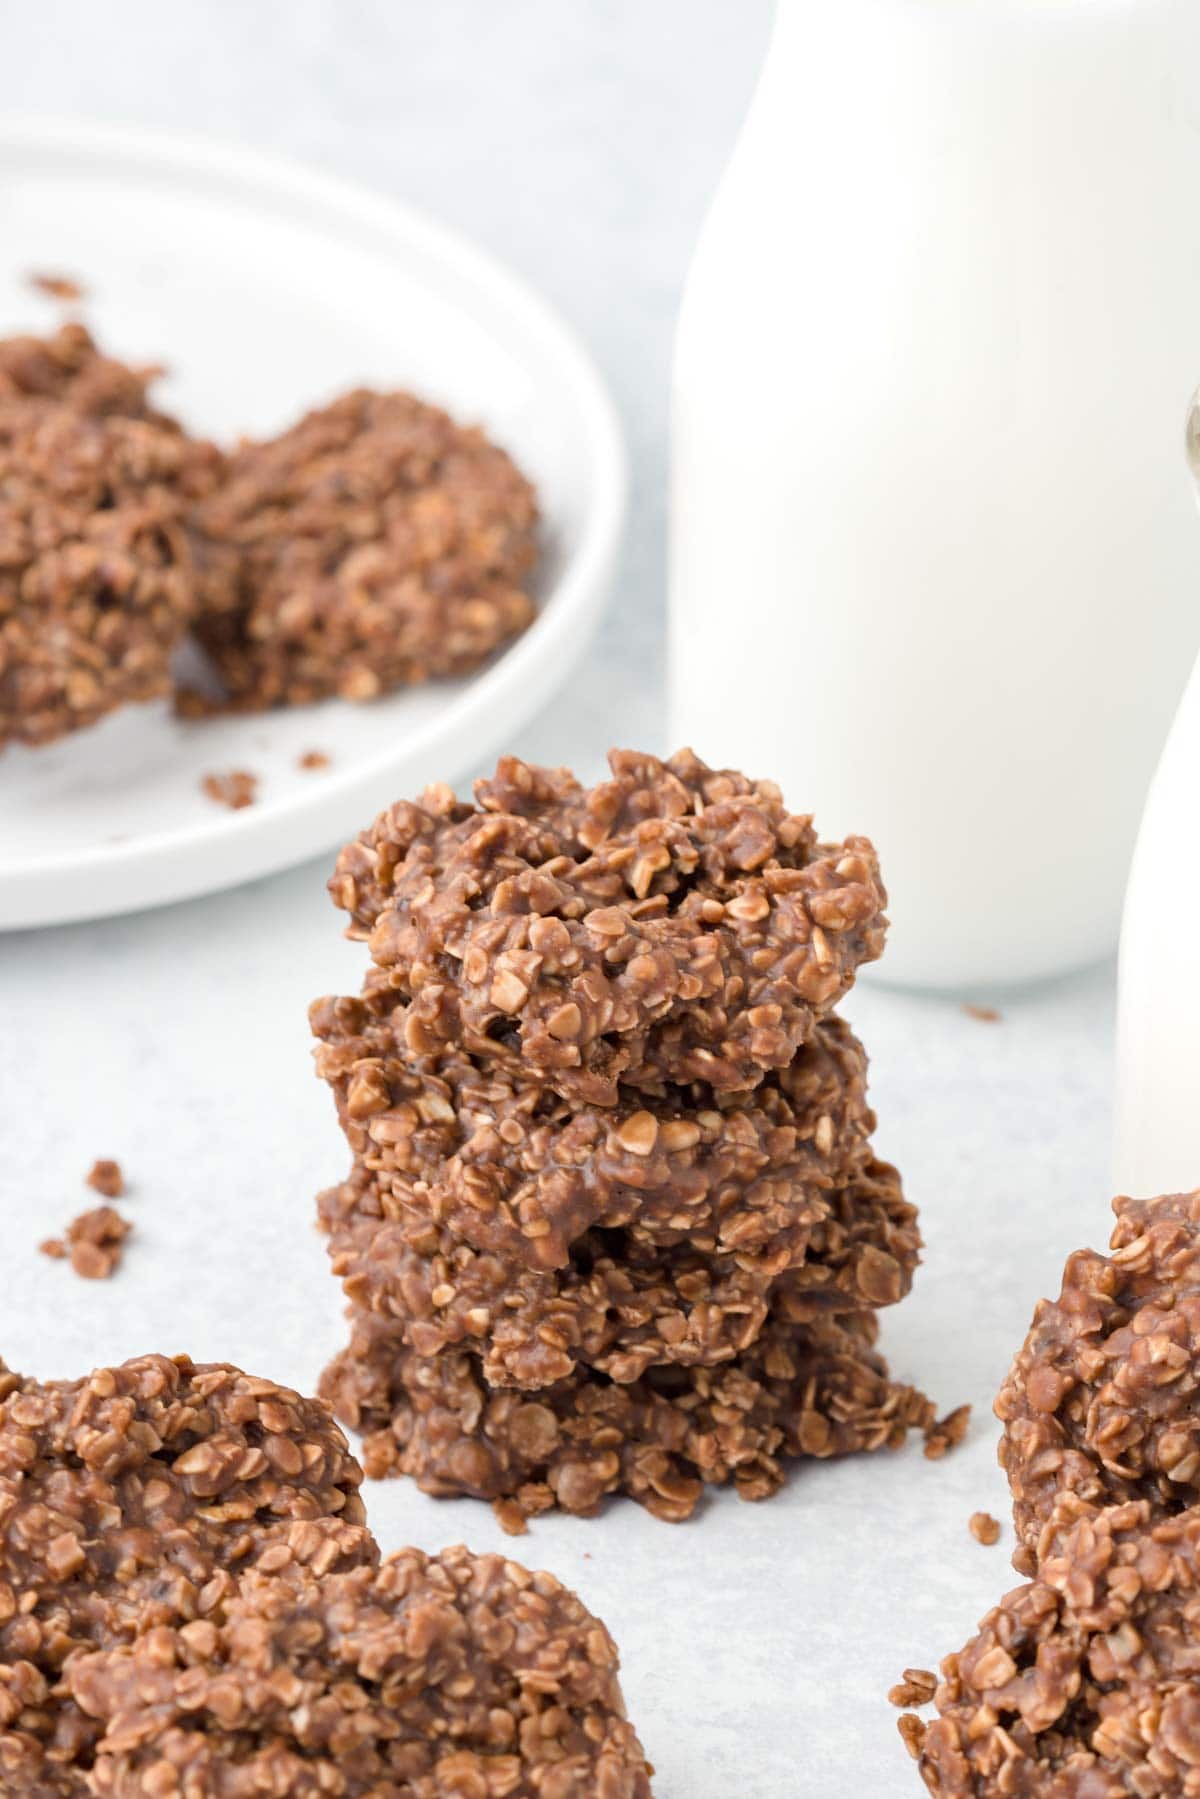
Who doesn’t love the ease of a no bake cookie recipe? The combination of chocolate, peanut butter, and oats in this recipe creates a cookie that stands alone. And this recipe is an absolute classic!
Cuisine Inspiration: American
Primary Cooking Method: Stovetop, No-Bake
Dietary Info: Gluten-free, Dairy-free option
Skill Level: Easy
Here’s why this recipe for no bake chocolate oatmeal cookies will become one of your favorites:
- Easy to adapt. You can see my add-in suggestions lower down, but know that you can play around with this recipe to add in whatever you like! Some wonderful options include chocolate chips or toasted nuts for crunch and flavor.
- Quick to make. Yes, this is the big one! Rather than deal with the oven, you’ll just need a few minutes of melting time involving the stove. Then let the cookies cool and set in the counter or the fridge while you go on to do other things.
- Gluten-free. This is a completely gluten-free cookie recipe, so definitely add it to your must-make gluten-free cookie list. Make sure to buy certified gluten-free oats to avoid any cross-contamination issues.

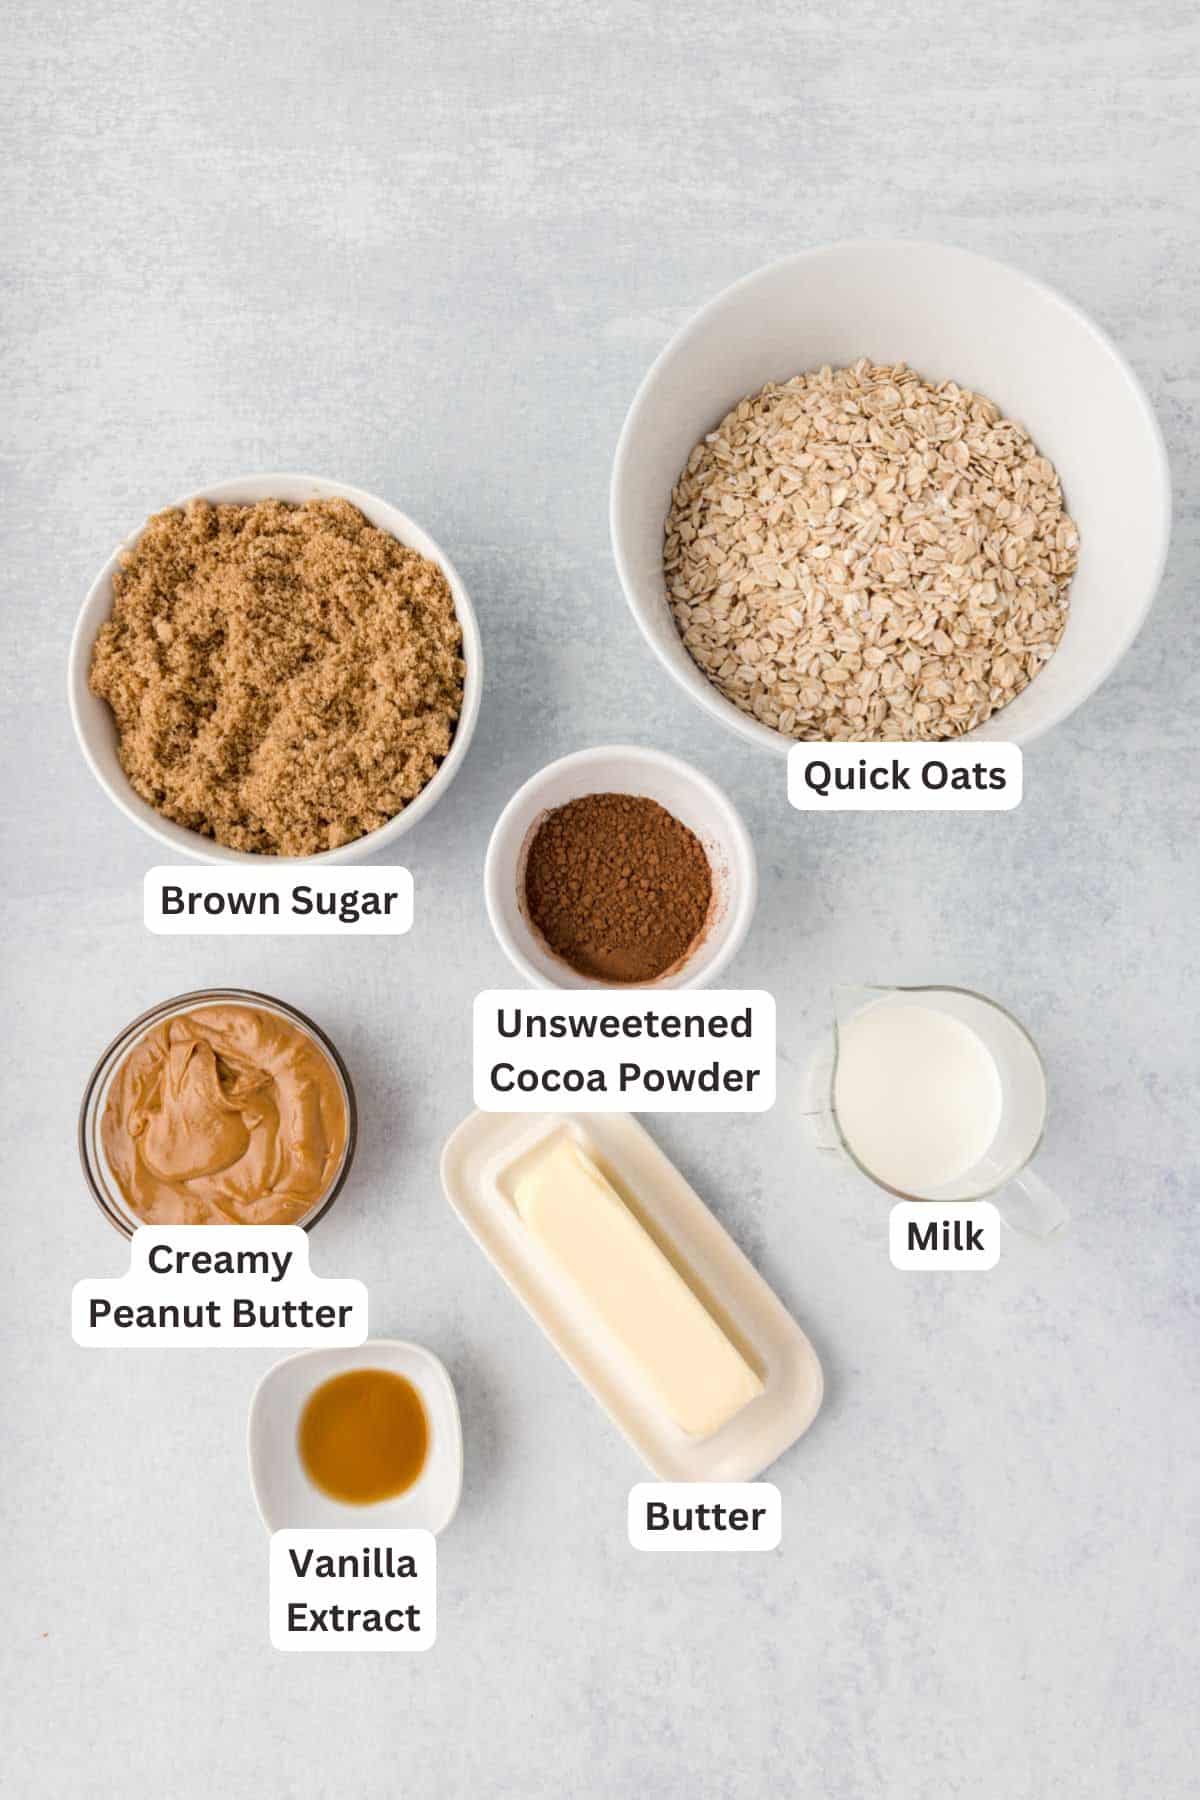
Here’s an overview of everything you’ll need to make these no bake chocolate oatmeal cookies with peanut butter. The full ingredient amounts can be found in the recipe card at the end of this post.
- Butter: I often use unsalted butter in my baking recipes but for this recipe, I prefer to use salted butter. If you don’t have salted butter, add ½ teaspoon of salt to the dough. You can also use vegan butter.
- Brown Sugar: You can use light or dark brown sugar.
- Milk: Whole milk or 2% milk will work in these cookies. Swap for almondmilk or another non-dairy milk for a dairy free option.
- Cocoa Powder: Unsweetened cocoa powder is best so it doesn’t make the cookies overly sweet.
- Vanilla Extract
- Oats: Make sure to use quick-cooking oats in these cookies rather than old-fashioned rolled oats.
- Peanut Butter: I prefer creamy peanut butter in these cookies to keep them nice and smooth.
What Oats are Best for No Bake Cookies?
When you’re making no bake oatmeal cookies, the best oats to use are quick-cooking oats. During the manufacturing process, quick oats are steamed and cut into small pieces with the result being that they absorb liquid better than their whole, rolled oat counterparts. In a no bake cookie recipe, which does not have the option to cook the oats a bit longer in the oven, we definitely want the oats to blend easily into the dough and create a nice, soft texture. Quick-cooking oats are ideal in no-bake cookie recipes.
I love an easy cookie recipe! Here’s how to make these no bake chocolate oatmeal cookies. For detailed instructions, be sure to scroll down to the recipe card.
- Melt the butter. In a medium saucepan, melt the butter over medium heat.
- Add sugar and milk. Stir in the brown sugar, milk, and cocoa powder.
- Boil. Bring the mixture to a boil and let it boil for 1 minute, stirring constantly.


- Remove from heat. Remove the saucepan from the heat and stir in the vanilla extract, oats, and peanut butter.
- Mix. Mix until the dough is well combined.
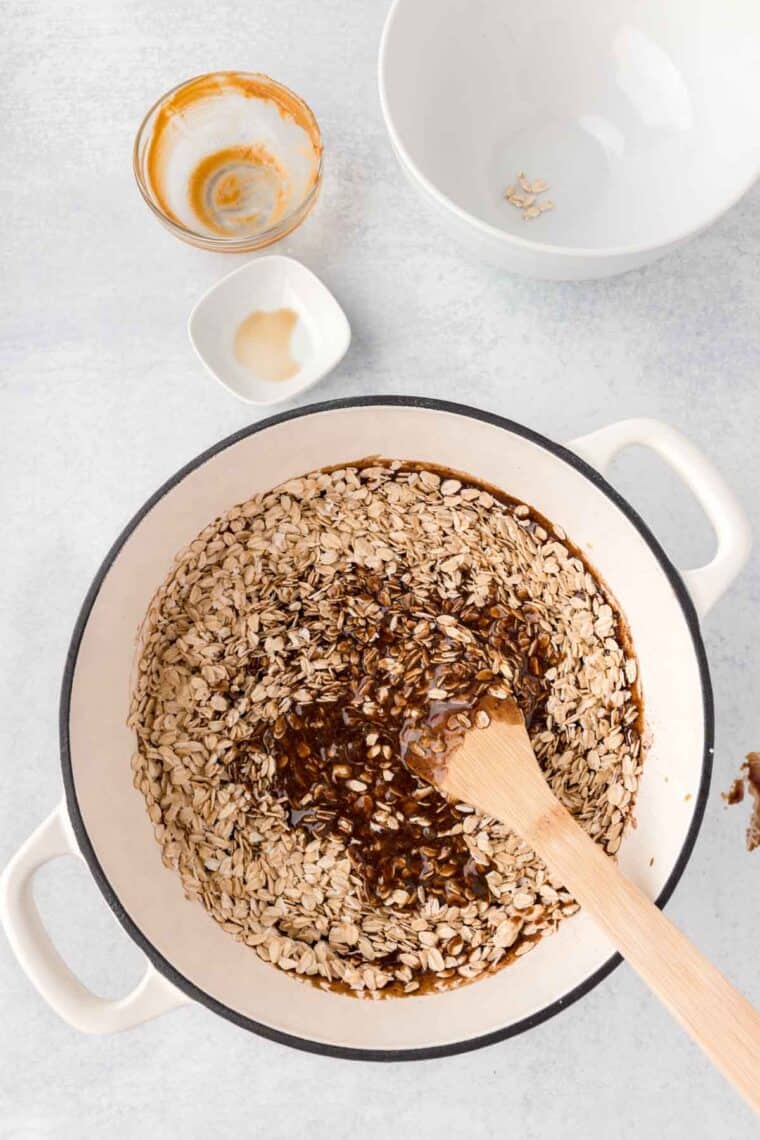

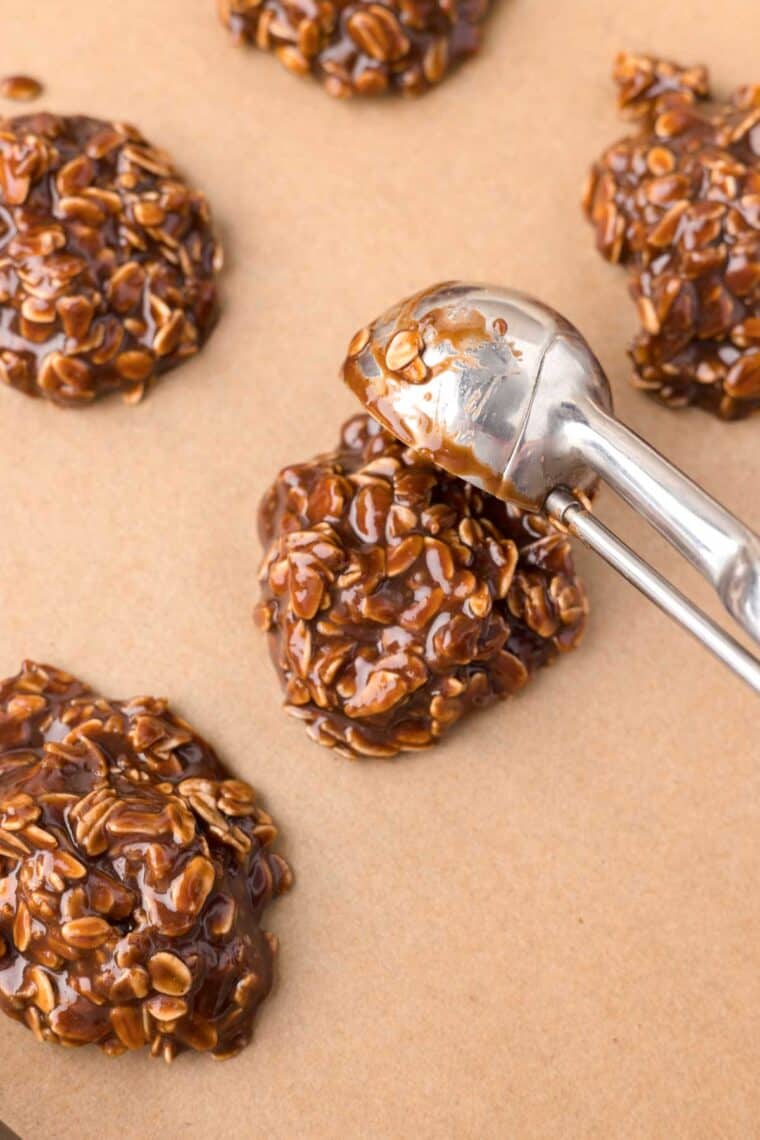
- Form the cookies. Drop spoonfuls of the mixture onto a baking sheet.
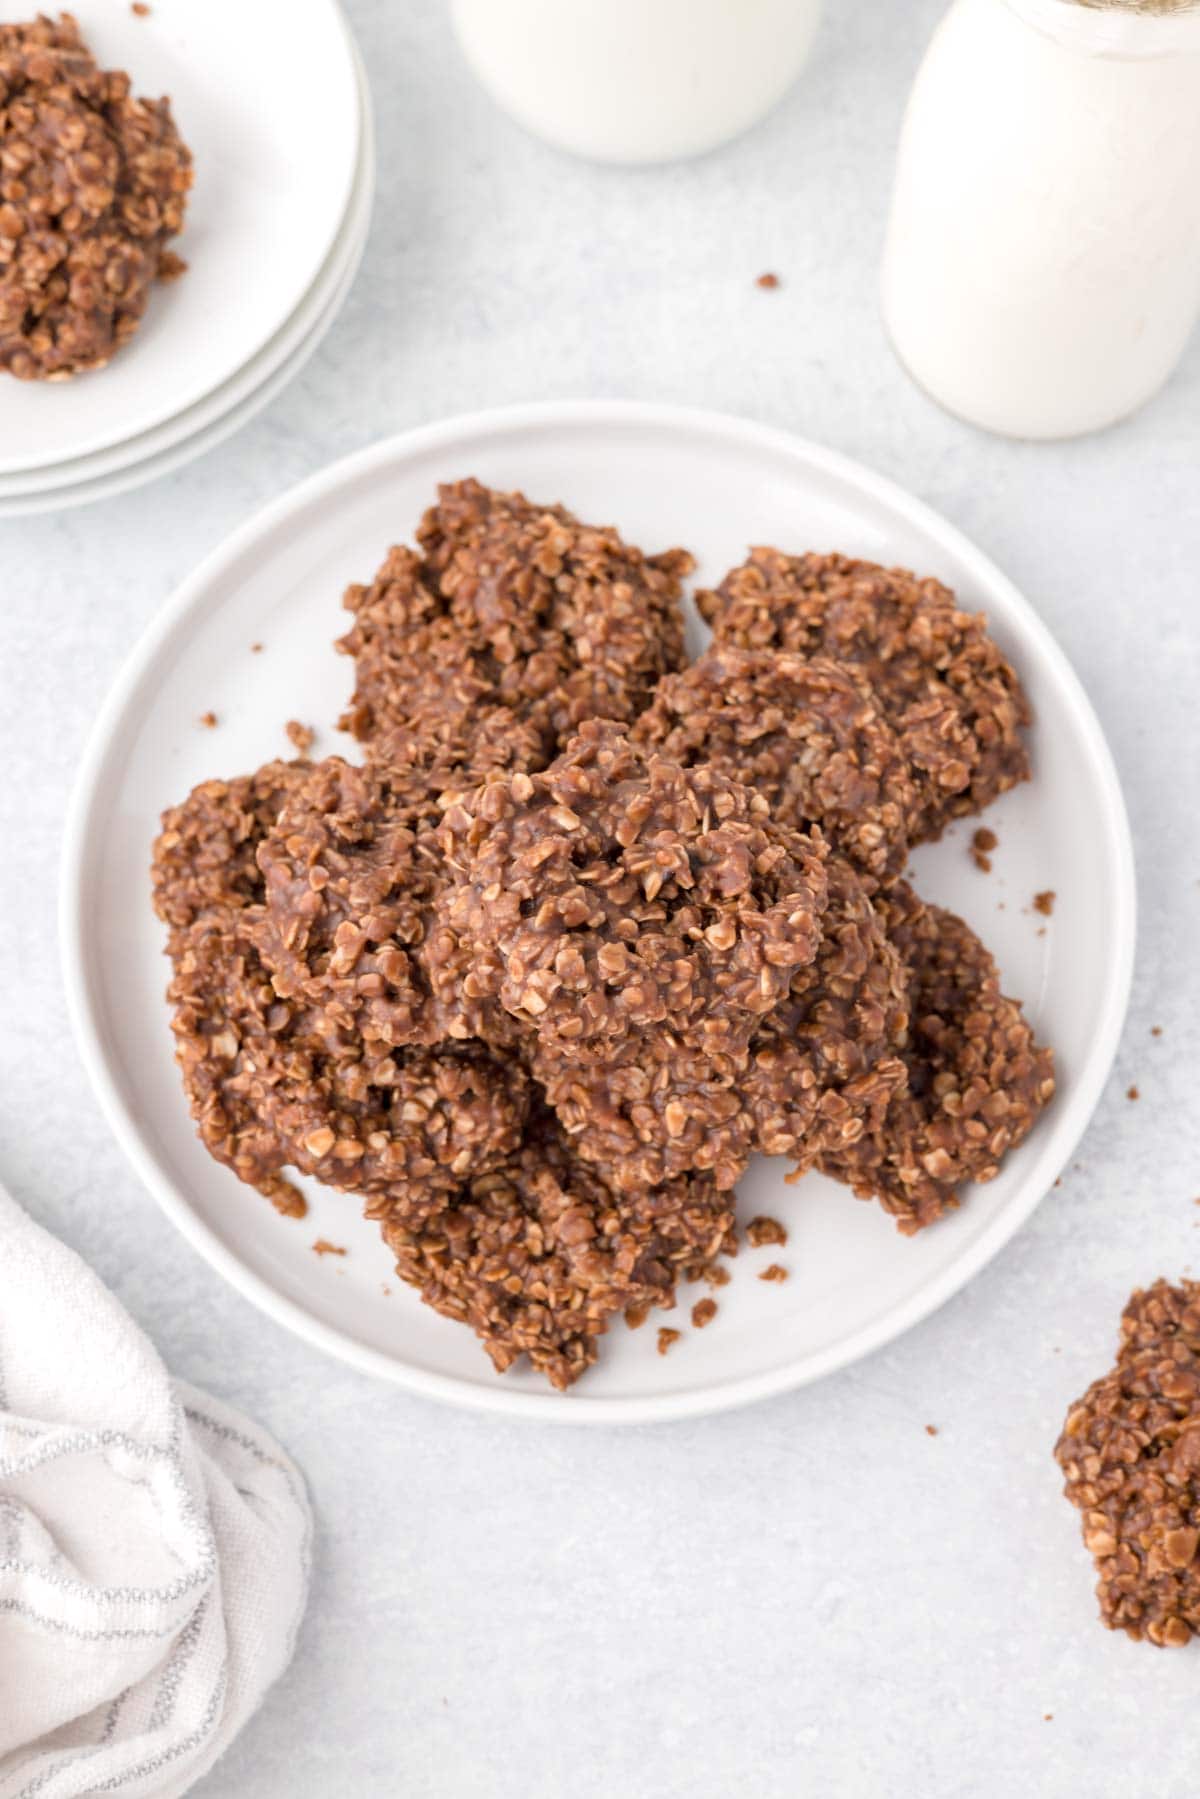
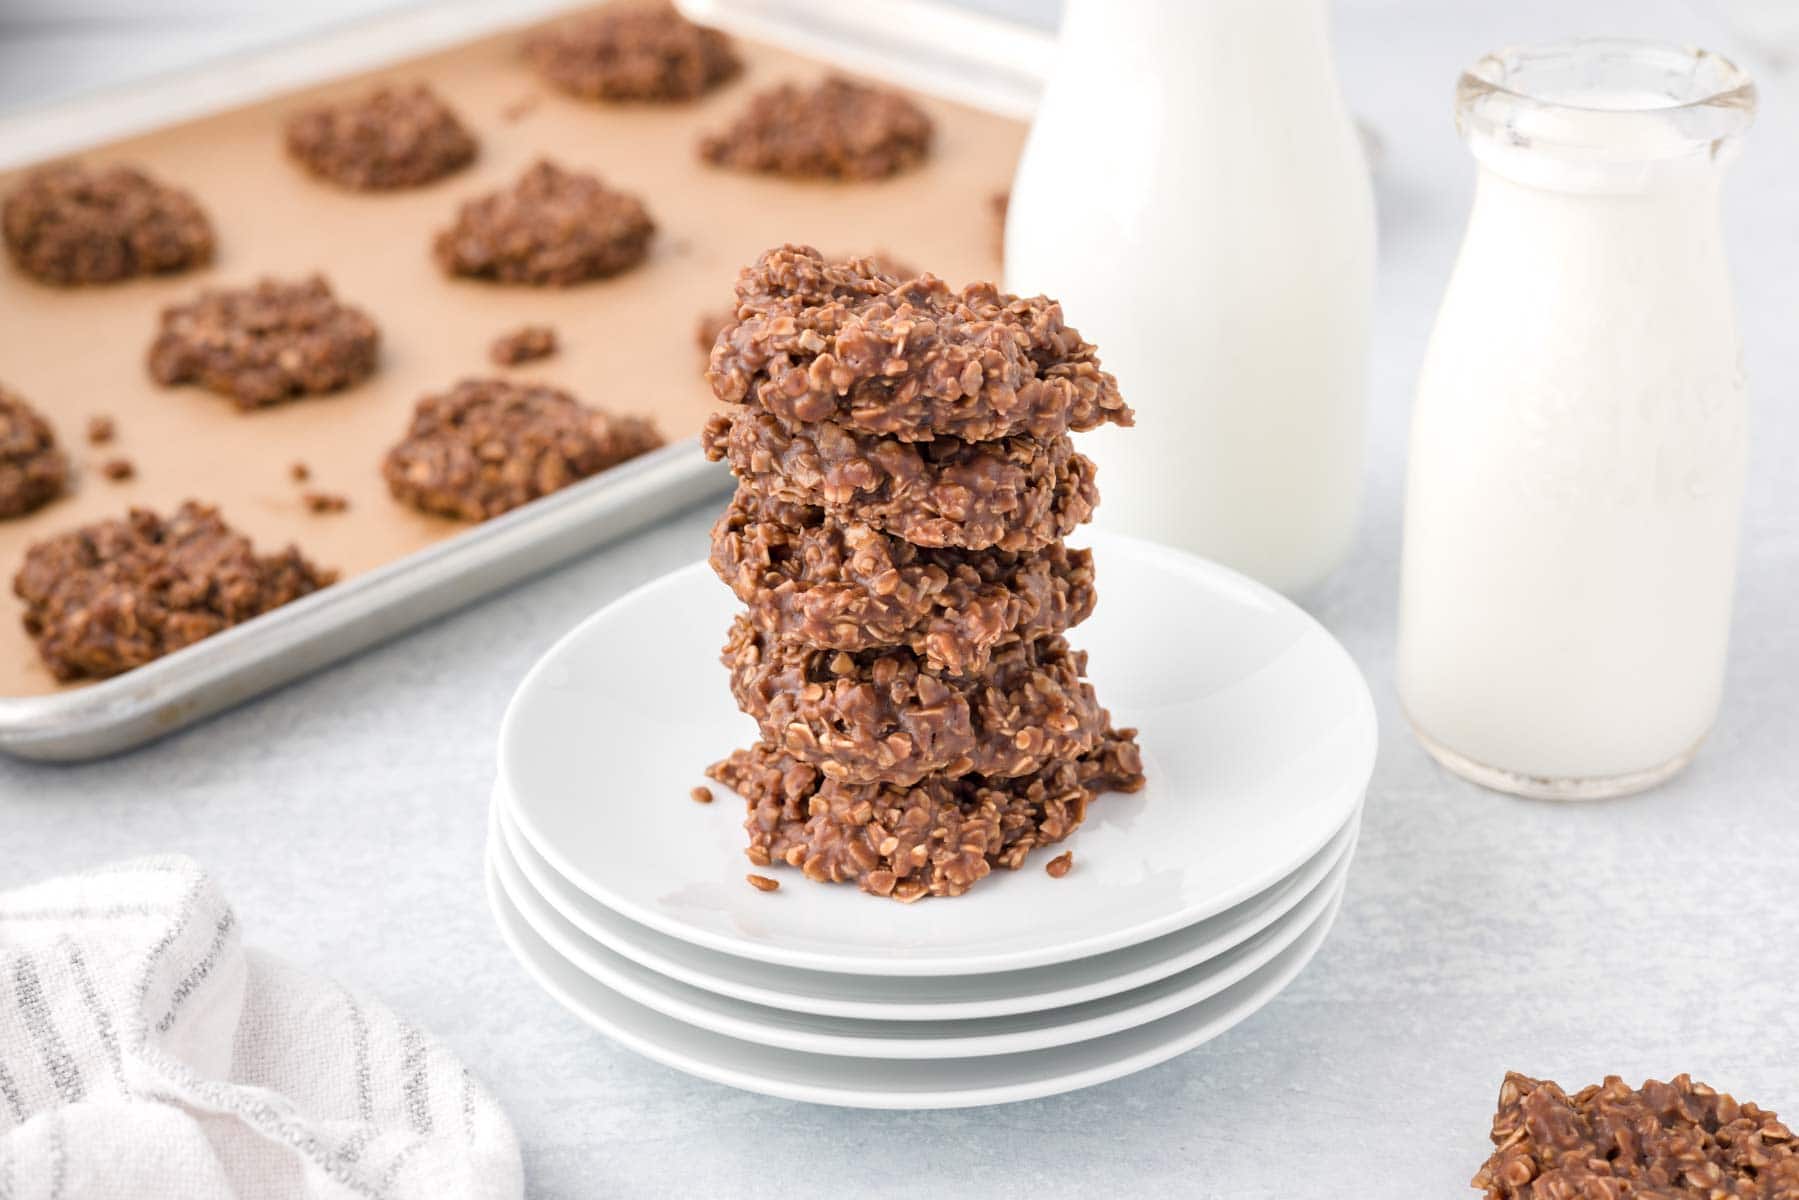
- Cool. Let the cookies cool and set at room temperature until firm.

Tips for Success
- Use consistent heat. When melting your butter and combining your sugar, milk, and cocoa powder, maintain a medium heat. Too high and you risk burning the mixture; too low and it may not combine properly. Stir frequently to help prevent scorching.
- Boil the mixture long enough. When the recipe calls for boiling the sugar, butter, milk, and cocoa mixture for 1 minute, make sure to start timing after the mixture has come to a full boil before proceeding to the next step.
- But don’t boil for too long! Once your mixture starts boiling, be precise with the 1-minute timing. Over-boiling could lead to a crystallized texture in your cookies.
- Try a different type of sugar. You can use white sugar instead of brown, but I like to use brown sugar in this recipe because it has a deep, caramel-like flavor due to the molasses it contains. It’s this molasses that gives brown sugar its color and a richer, more complex flavor profile. In terms of taste, brown sugar is sweet but also has notes of toffee and caramel, which lends a more robust and full-bodied flavor to recipes.
- Be consistent with the cookie size. When dropping the cookies onto the wax paper, try to be consistent with the size so that they will set at the same time. I like to use a small cookie scoop to make even-sized cookies.
- Speed up the cooling time. You can let the cookies sit on the counter to cool, but you can help speed up the process by placing them in the fridge. Make sure you have plenty of space in your refrigerator if you choose to cool them there. This will speed up the process and help them firm up quicker.

Easy Variations
I love adding a little bit more to these cookies. Here are a few of my favorite suggestions:
- Use another nut butter. If you’re allergic to peanuts or just want to try a different flavor, you can substitute almond butter for the peanut butter. Or try sunflower seed butter for a nut-free option.
- Brown the butter. If you want to add another flavor note, consider browning the butter before adding the sugar, milk, and cocoa. Browning butter gives it a deep, nutty flavor that can add complexity to the cookies.
- Make the cookies dairy-free. If you need to make the cookies dairy-free, substitute your favorite non-dairy butter and non-dairy milk for the butter and milk called for in the ingredients list.
- Try some add-ins. You can throw in different ingredients like chopped nuts or dried fruit to add different flavors and textures.
- Use rolled oats. While I detailed why using quick-cooking oats is preferred in this recipe, you may want to experiment with using rolled oats instead. It’s a matter of preference: rolled oats will give your cookies a more chewy texture. If you decide to use old-fashioned oats instead, decrease the amount of oats and use 3 cups of rolled oats.
- Add more chocolate! To up the chocolate factor, stir in some semisweet chocolate or mini chocolate chips, or try white chocolate chips if you prefer. You could also add mini M&M’s or other gluten-free, chopped-up candies like Reeses’s pieces.
Proper Storage
You can store the cookies in the fridge, or freeze them for another time. Here’s how to store no-bake chocolate oatmeal cookies:
- Counter – These cookies can be stored in an airtight container at room temperature for up to a week.
- Fridge – Store the cookies in an airtight container in the fridge for up to 1 week if you prefer them cold.
- Freezer – Once the cookies are set and firm at room temperature, transfer them to a baking sheet that can fit in your freezer. Arrange the cookies in a single layer, making sure they aren’t touching each other. Place the baking sheet in the freezer for a few hours, or until the cookies are fully frozen. Then transfer the cookies to a freezer-safe bag or airtight container, separating layers of cookies with wax paper or parchment paper to prevent them from sticking together. Store the cookies in the freezer for up to 3 months.
If you are making a cookie charcuterie board for the holidays or just need a little variety, then you need to dive into a selection of different gluten free cookies. Here are a few of my favorites!
Ingredients
- ½ cup (1 stick) salted butter
- 2 cups packed brown sugar
- ½ cup milk
- ¼ cup unsweetened cocoa powder
- ¾ teaspoon vanilla extract
- 3 ½ cups quick cooking oats (certified gluten free, if needed)
- ½ cup creamy peanut butter
Instructions
- In a medium saucepan, melt the butter over medium heat.
- Add the brown sugar, milk, and cocoa powder to the saucepan. Stir until the mixture is well combined and the sugar has dissolved.
- Bring the mixture to a boil and let it boil for 1 minute, stirring constantly.
- Remove the saucepan from the heat and stir in the vanilla extract, oats, and peanut butter. Mix until all the oats are coated and the mixture is well combined.
- Drop spoonfuls of the mixture onto wax paper or a parchment-lined baking sheet. You can make them as small or large as you prefer.
- Let the cookies cool and set at room temperature for about 30 minutes to 1 hour, or until firm.


